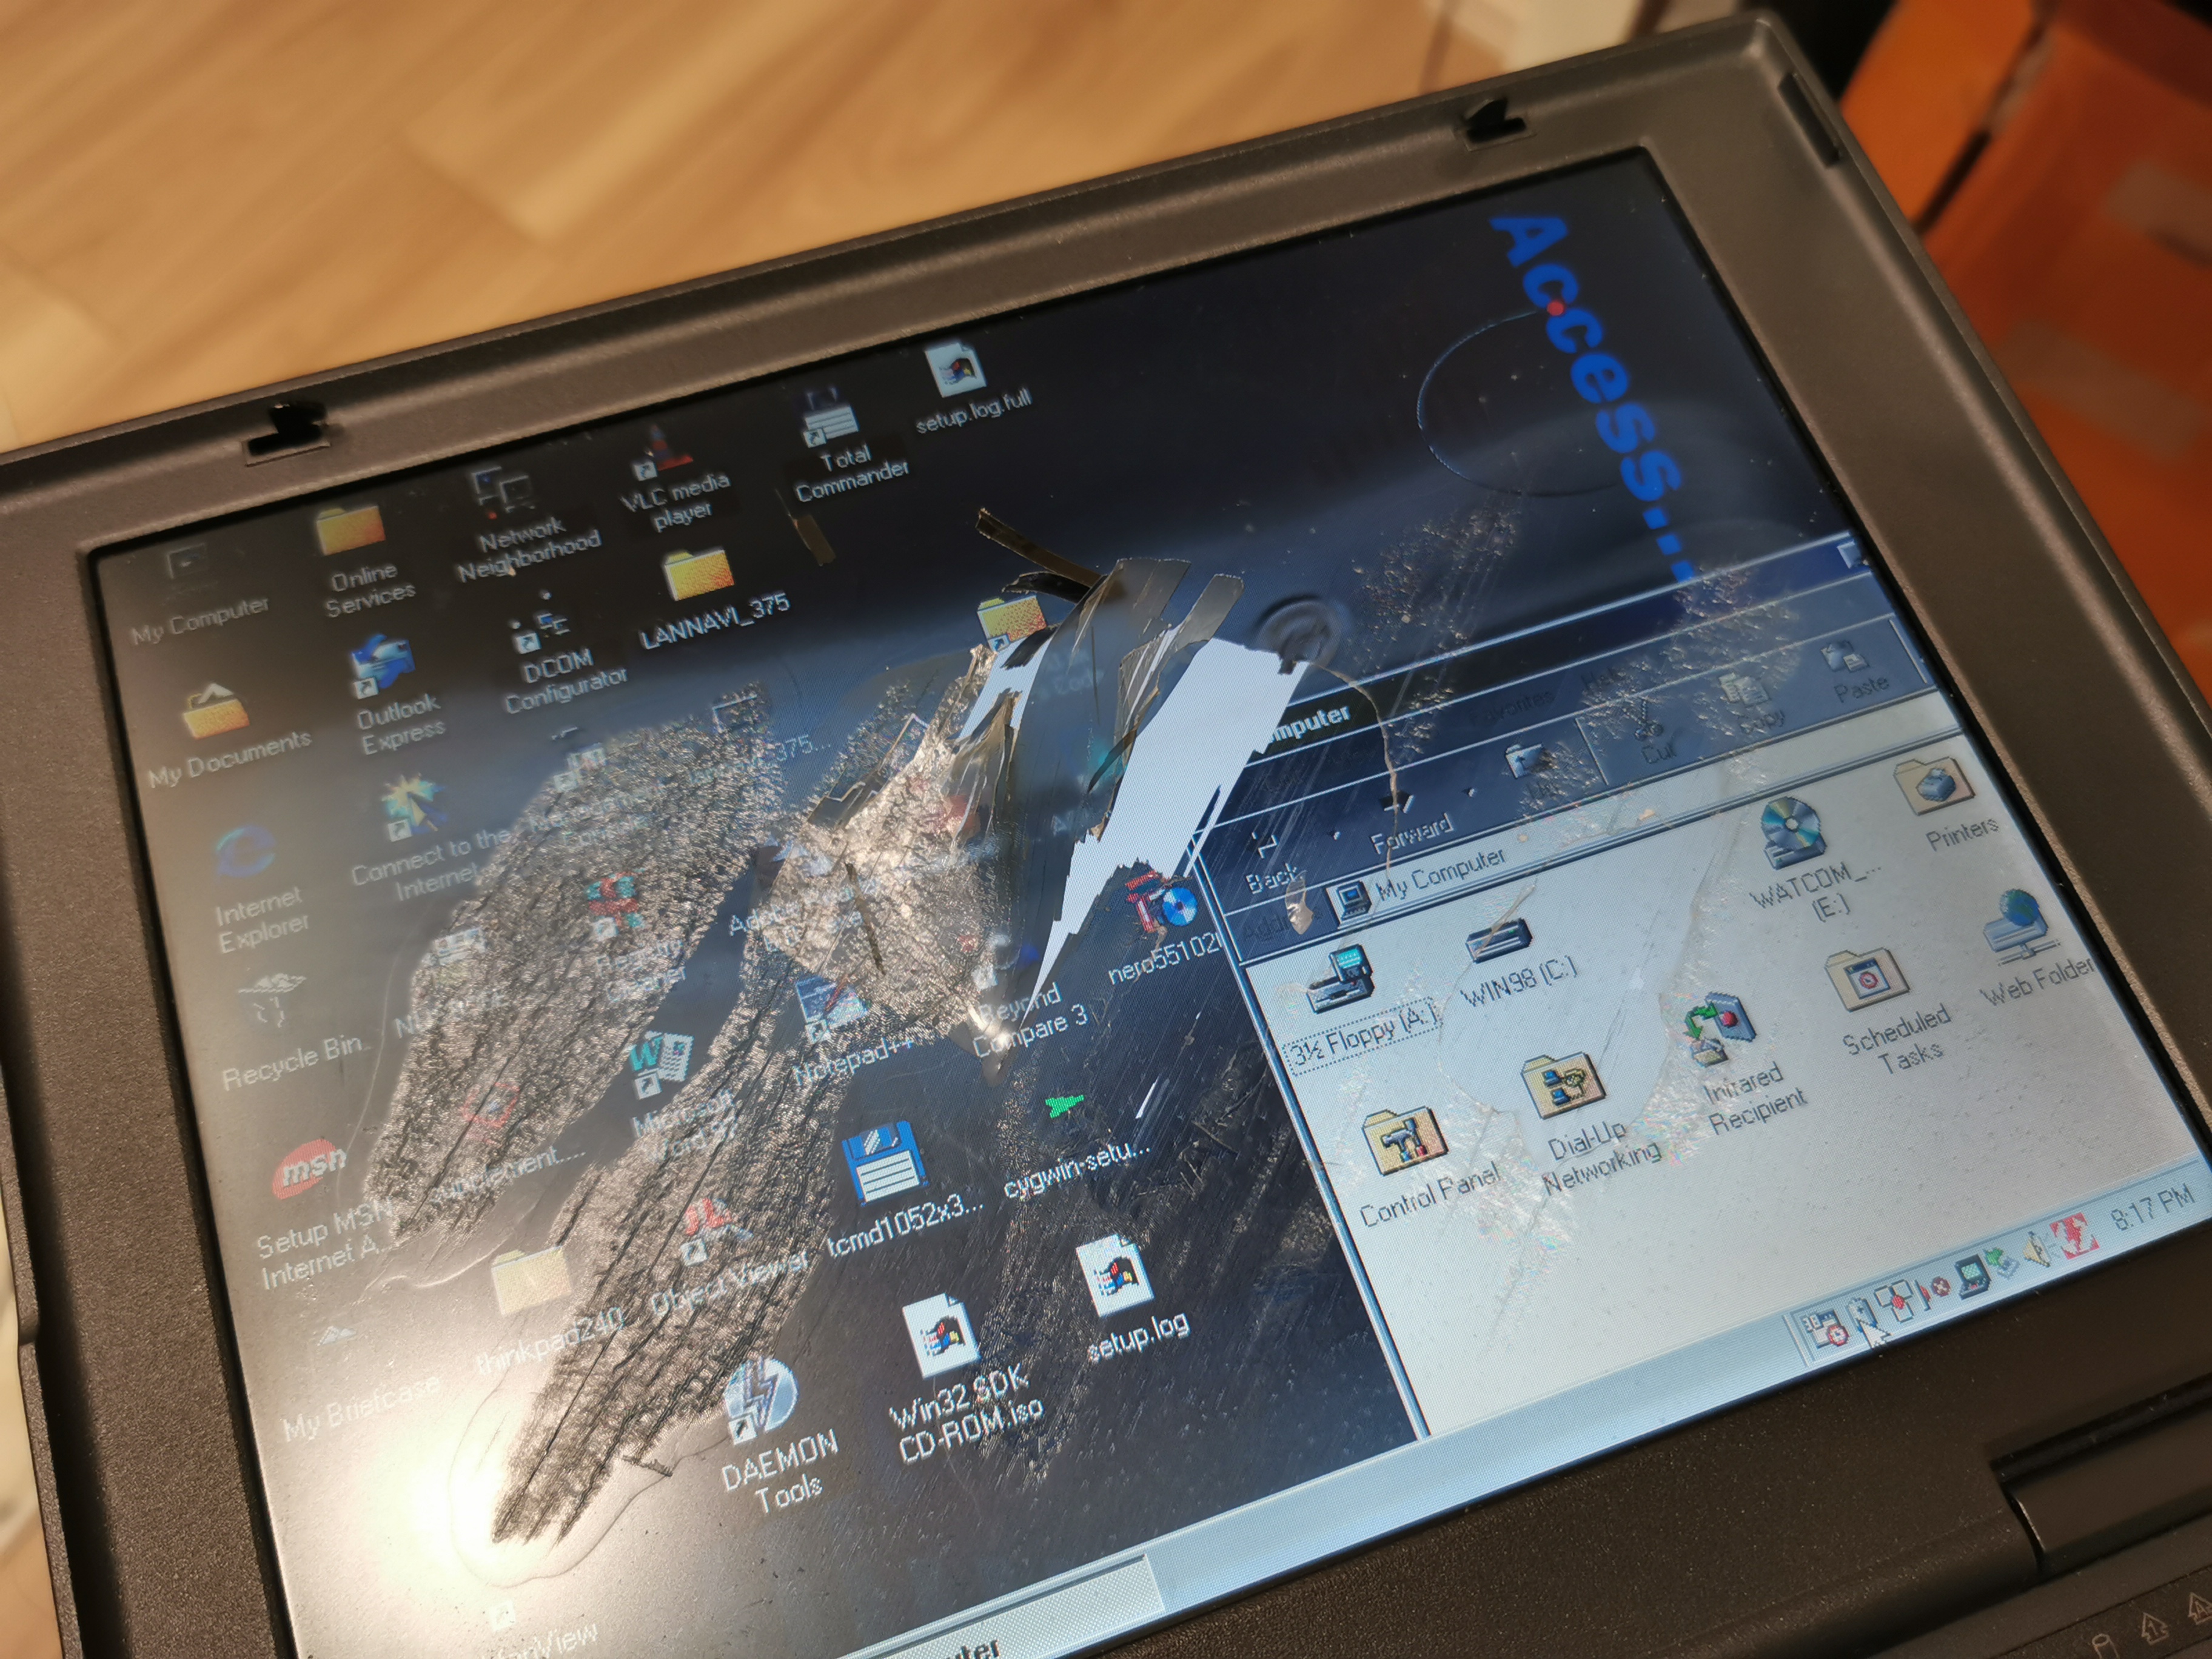
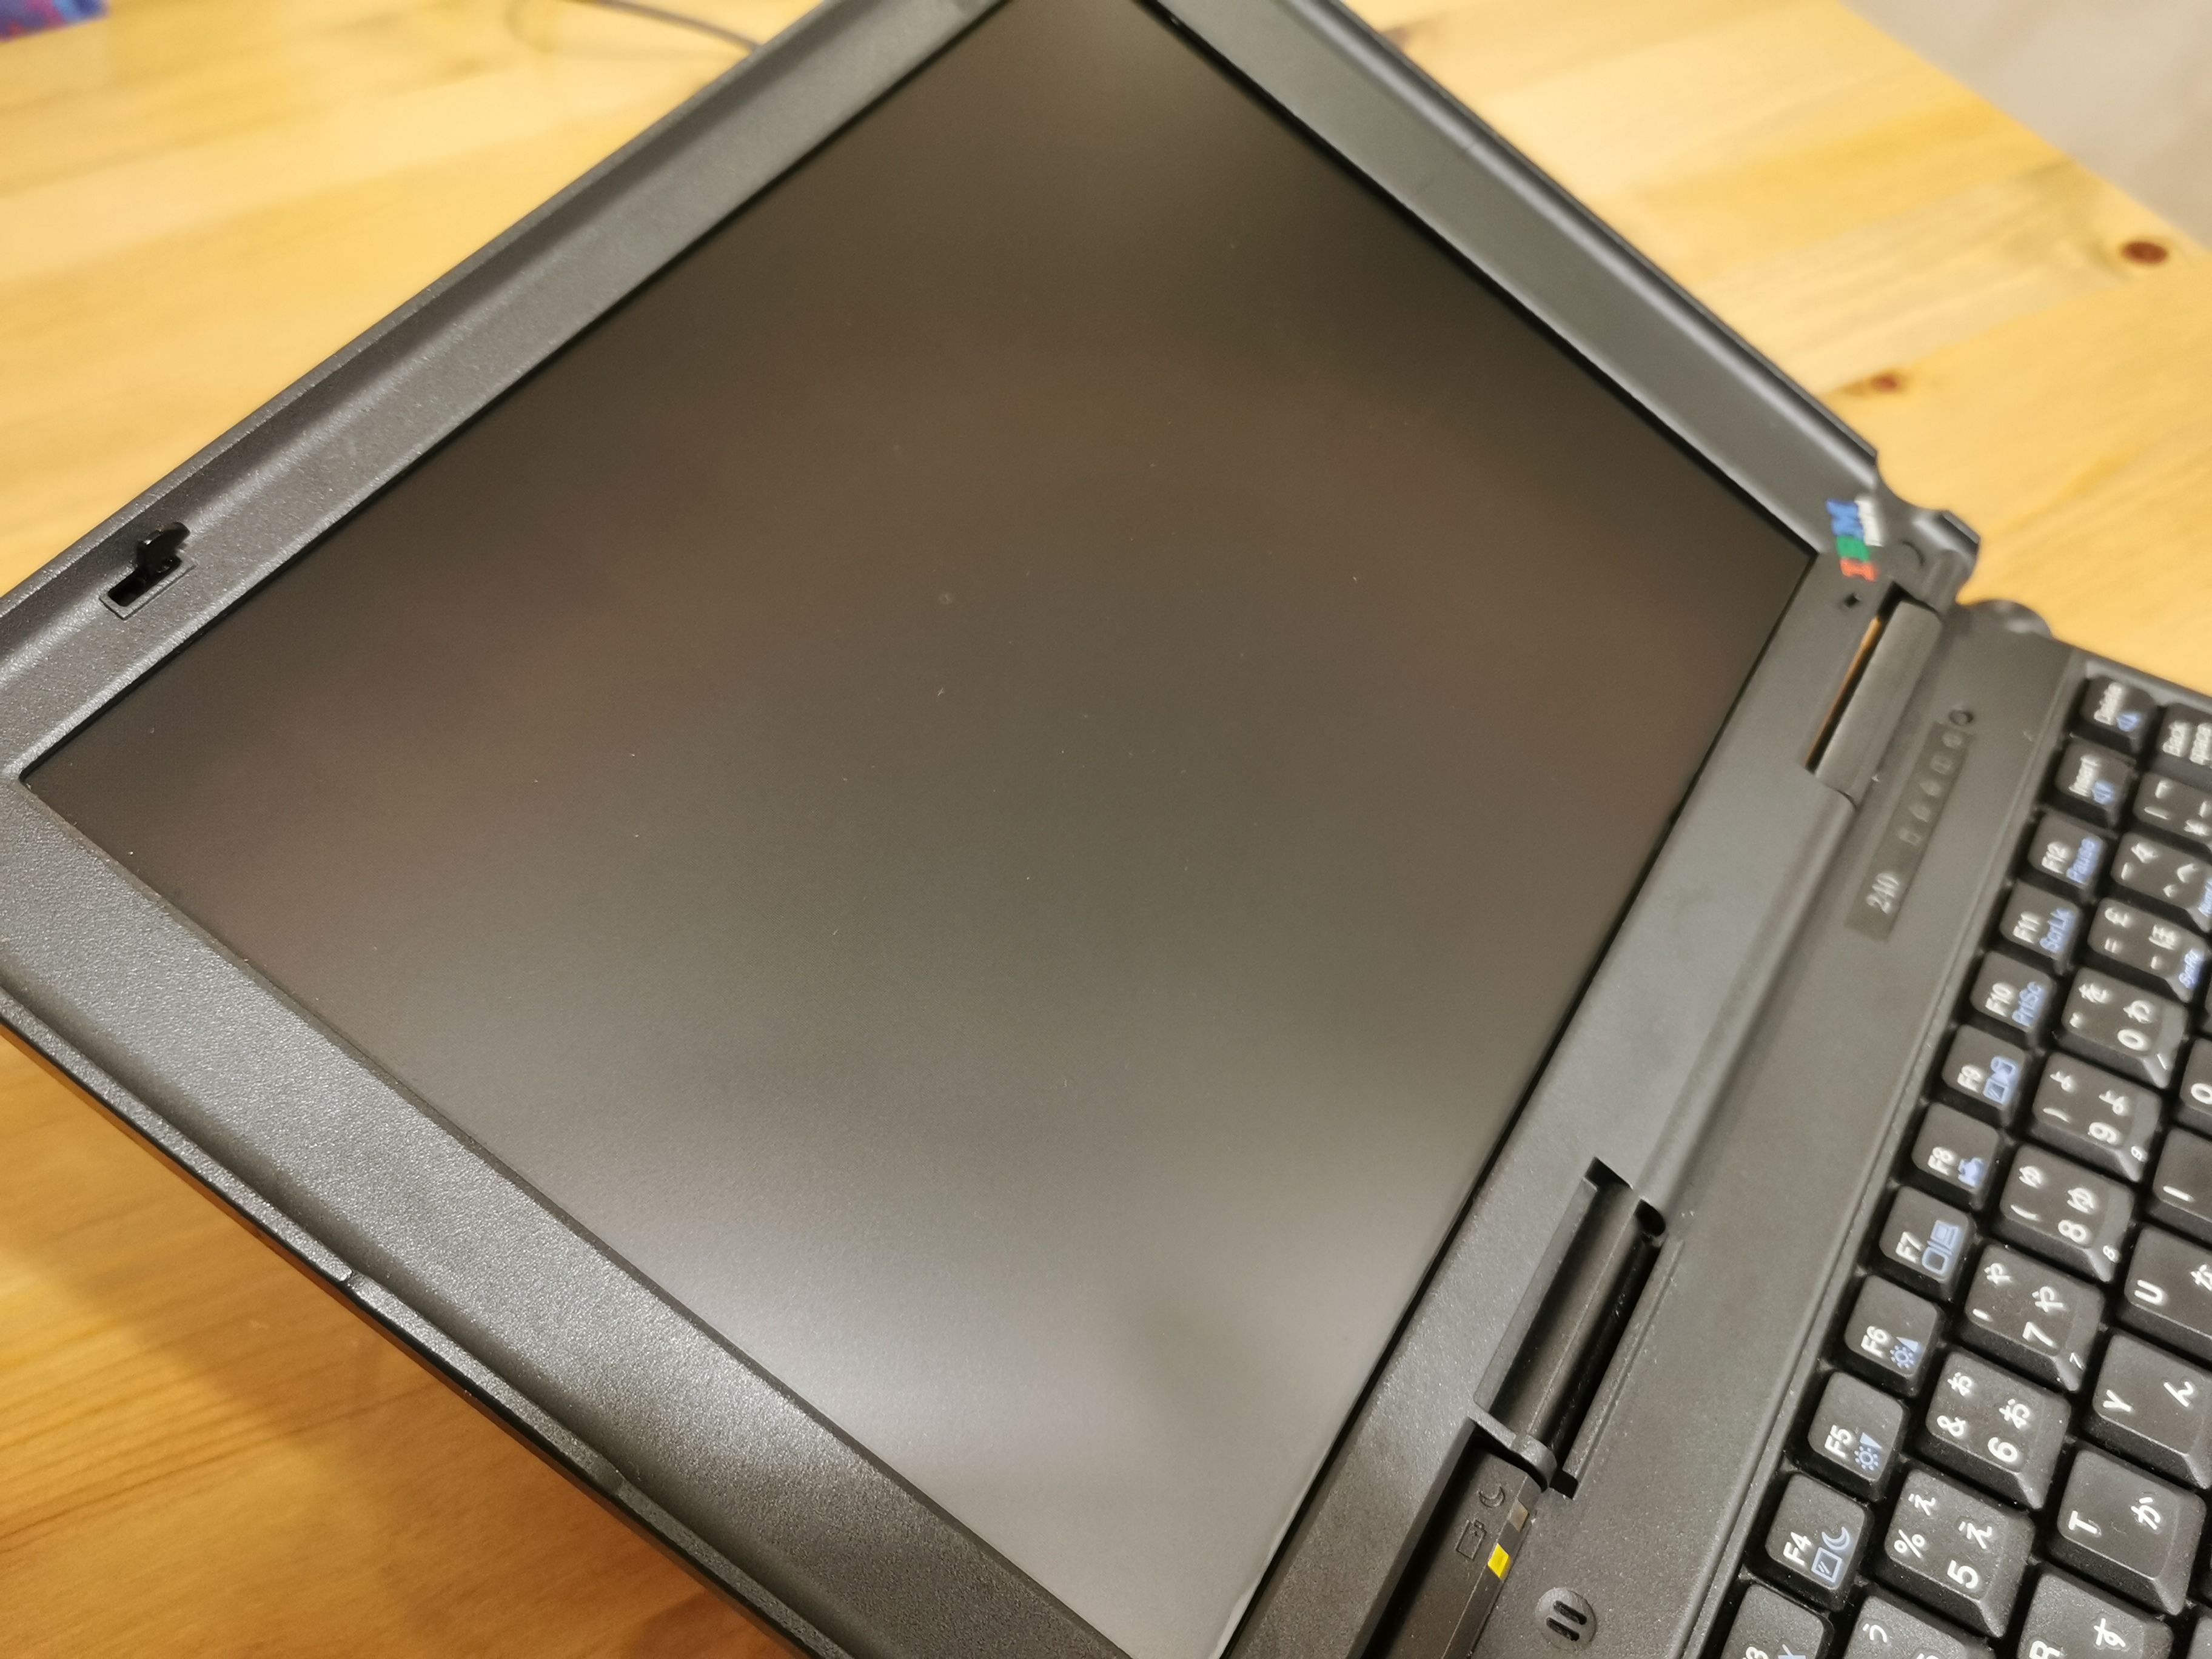
My ThinkPad 240 from 1999 suffers from a warped and bubbled LCD panel surface, emitting a strong vinegar odor. In today’s blog post, I want to explain to you the chemical process behind this aging process called “Vinegar Syndrome” and guide you how you can fix it.

I bought this pristine ThinkPad of yahoo auctions. After I fixed the locked BIOS password and replaced the battery cells, I decided to address the bubbled screen. Let’s first try to understand what is happening here, and why is the LCD emitting a vinegar smell.
The polarizer film glued on the top of the LCD is made of cellulose acetate. Cellulose acetate (CA) is an incredibly versatile plastic. It is used for films, silk-like clothing or cigarette filters, and even the first Lego bricks were made out of it. The plastic tip of your shoelace is made out of CA, too.

Cellulose acetate is created by taking cellulose and improving it by adding acetyl groups, a process called acetylation. The resulting CA has excellent properties: it is easy to process, hard, transparent and robust. It even is decomposable (though very slow).
What happens on your LCD screen is similar to the decay process of cigarette butts. As the material ages, the acetyl groups are broken up into an alcohol and acetic acid. That’s the vinegar odor you can smell.
Once the polarizer starts to smell of vinegar, the decay process will accelerate. The acetic acid accelerates the destruction of CA, resulting in more acetic acid being released. The acid breaks down the cellulose fibers, destroying the structure and making the plastic brittle. The polarizer develops bubbles and warps.
A detailed explanation of this degradation process is explained in this well-written paper.
Three factors accelerate the degradation of cellulose acetate: first, breaking up the acetyl groups requires water. The higher the humidity, the faster the degradation. The second is temperature, as chemical reactions happen faster the higher the temperature. Third, acids acts as a catalyst, accelerating the biodegradation rate.
How to Prevent the Vinegar Syndrome
The bad thing is that CA degradation is inevitable, bringing headaches to film archivists. In hot and humid climate zones, vinegar syndrome may appear in less than a decade. Storing your notebook in a dry and cold environment slows the degradation significantly, making it unlikely to happen within the lifetime of our vintage notebooks.
Ideally, even when stored cold and dry, the LCD lid should be left opened during storage so that the acetic acid can dissipate. Affected devices should be stored separately, so that the released acid does not accelerate the aging of other screens.
How to repair LCDs affected by the Vinegar Syndrome
The vinegar syndrome can only be slowed down, not stopped. Once the polarizer starts degrading, it has to be replaced.

As shown above, an LCD has two polarizer films, one at the front and one on the back. From my experience, vinegar syndrome usually only affects the outer layer. I assume that the inner layer is stored protected next to the backlight and is less exposed to humidity.
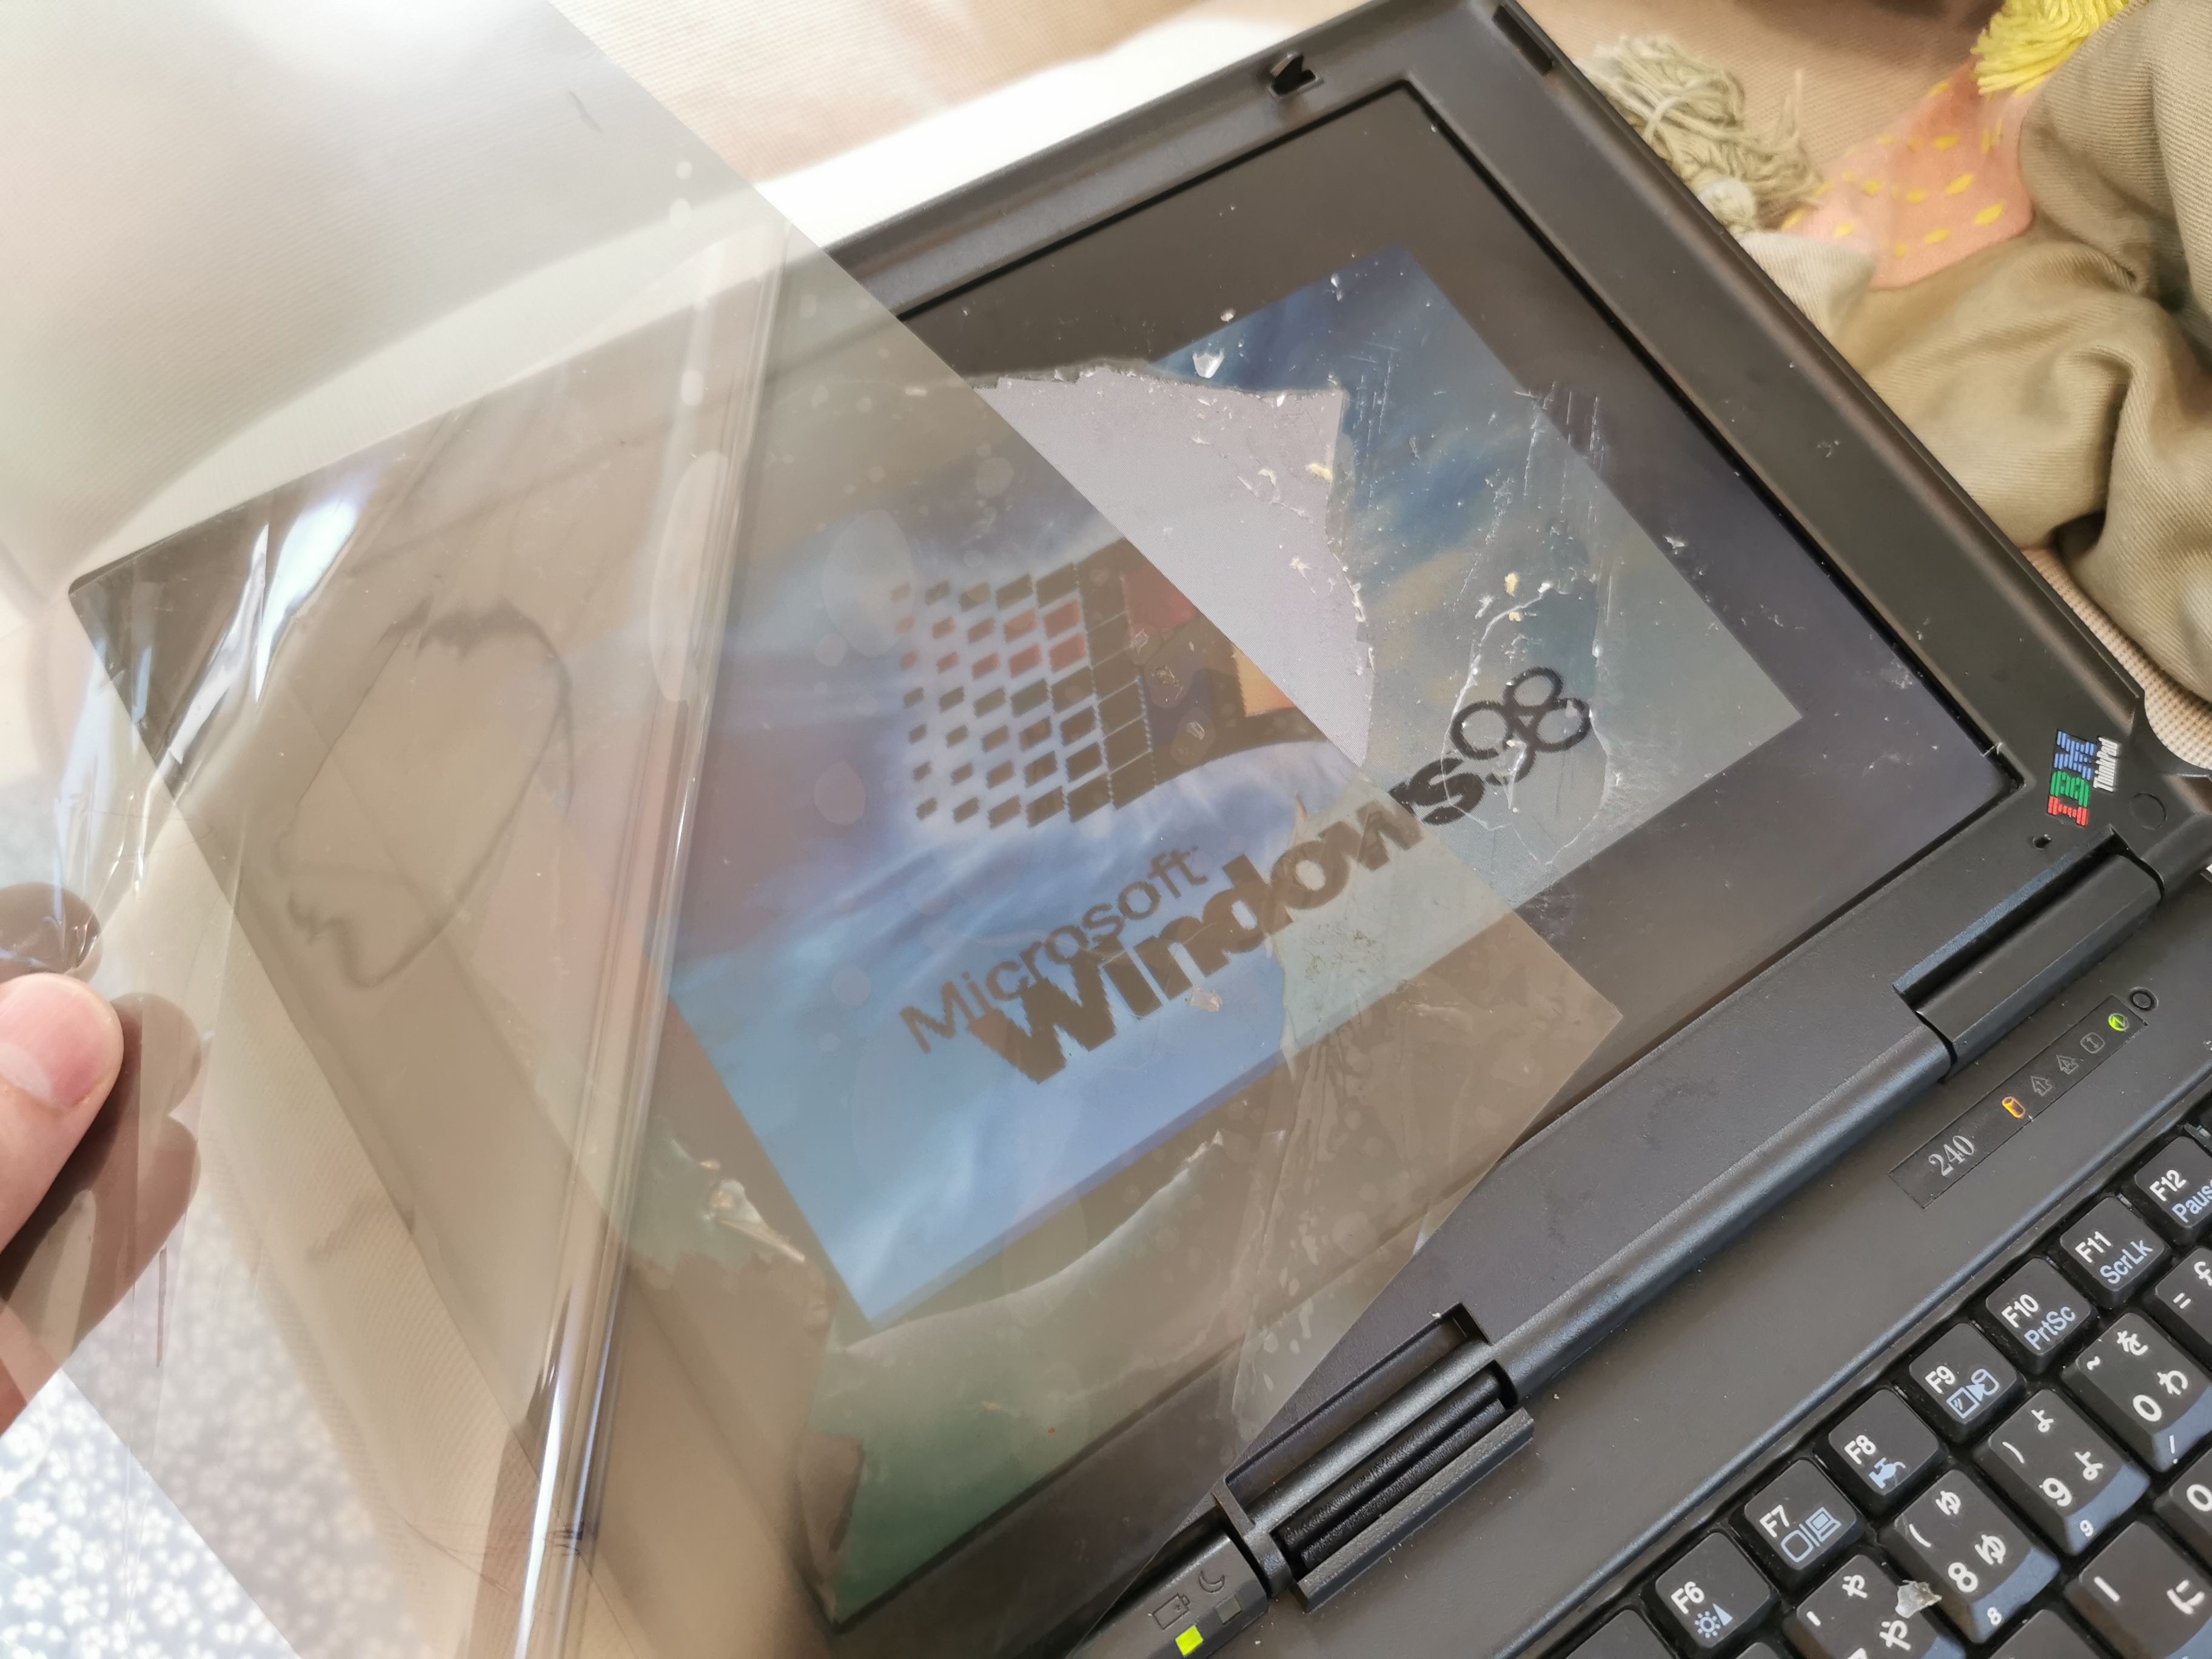
I used a razor blade and Isopropanol to carefully remove the old polarizer. It’s a painstaking and time-consuming task. The polarizer actually has several layers, a matte surface layer, the polarizer, and the glue. You need to remove all layers, all the way down to the glass of the liquid crystal.

Take care to not break the thin glass of the LCD.

Without the polarizer film in place, the LCD just looks white. Make sure to test fit the new polarizer film to ensure the polarization angle is correct.
The polarizer film has a sticky side so make sure you got the format and up/down right.
When reaching the corners, remove the bezel. Be careful not to break it. Cleaning the residue from the corners took the most time in my case.
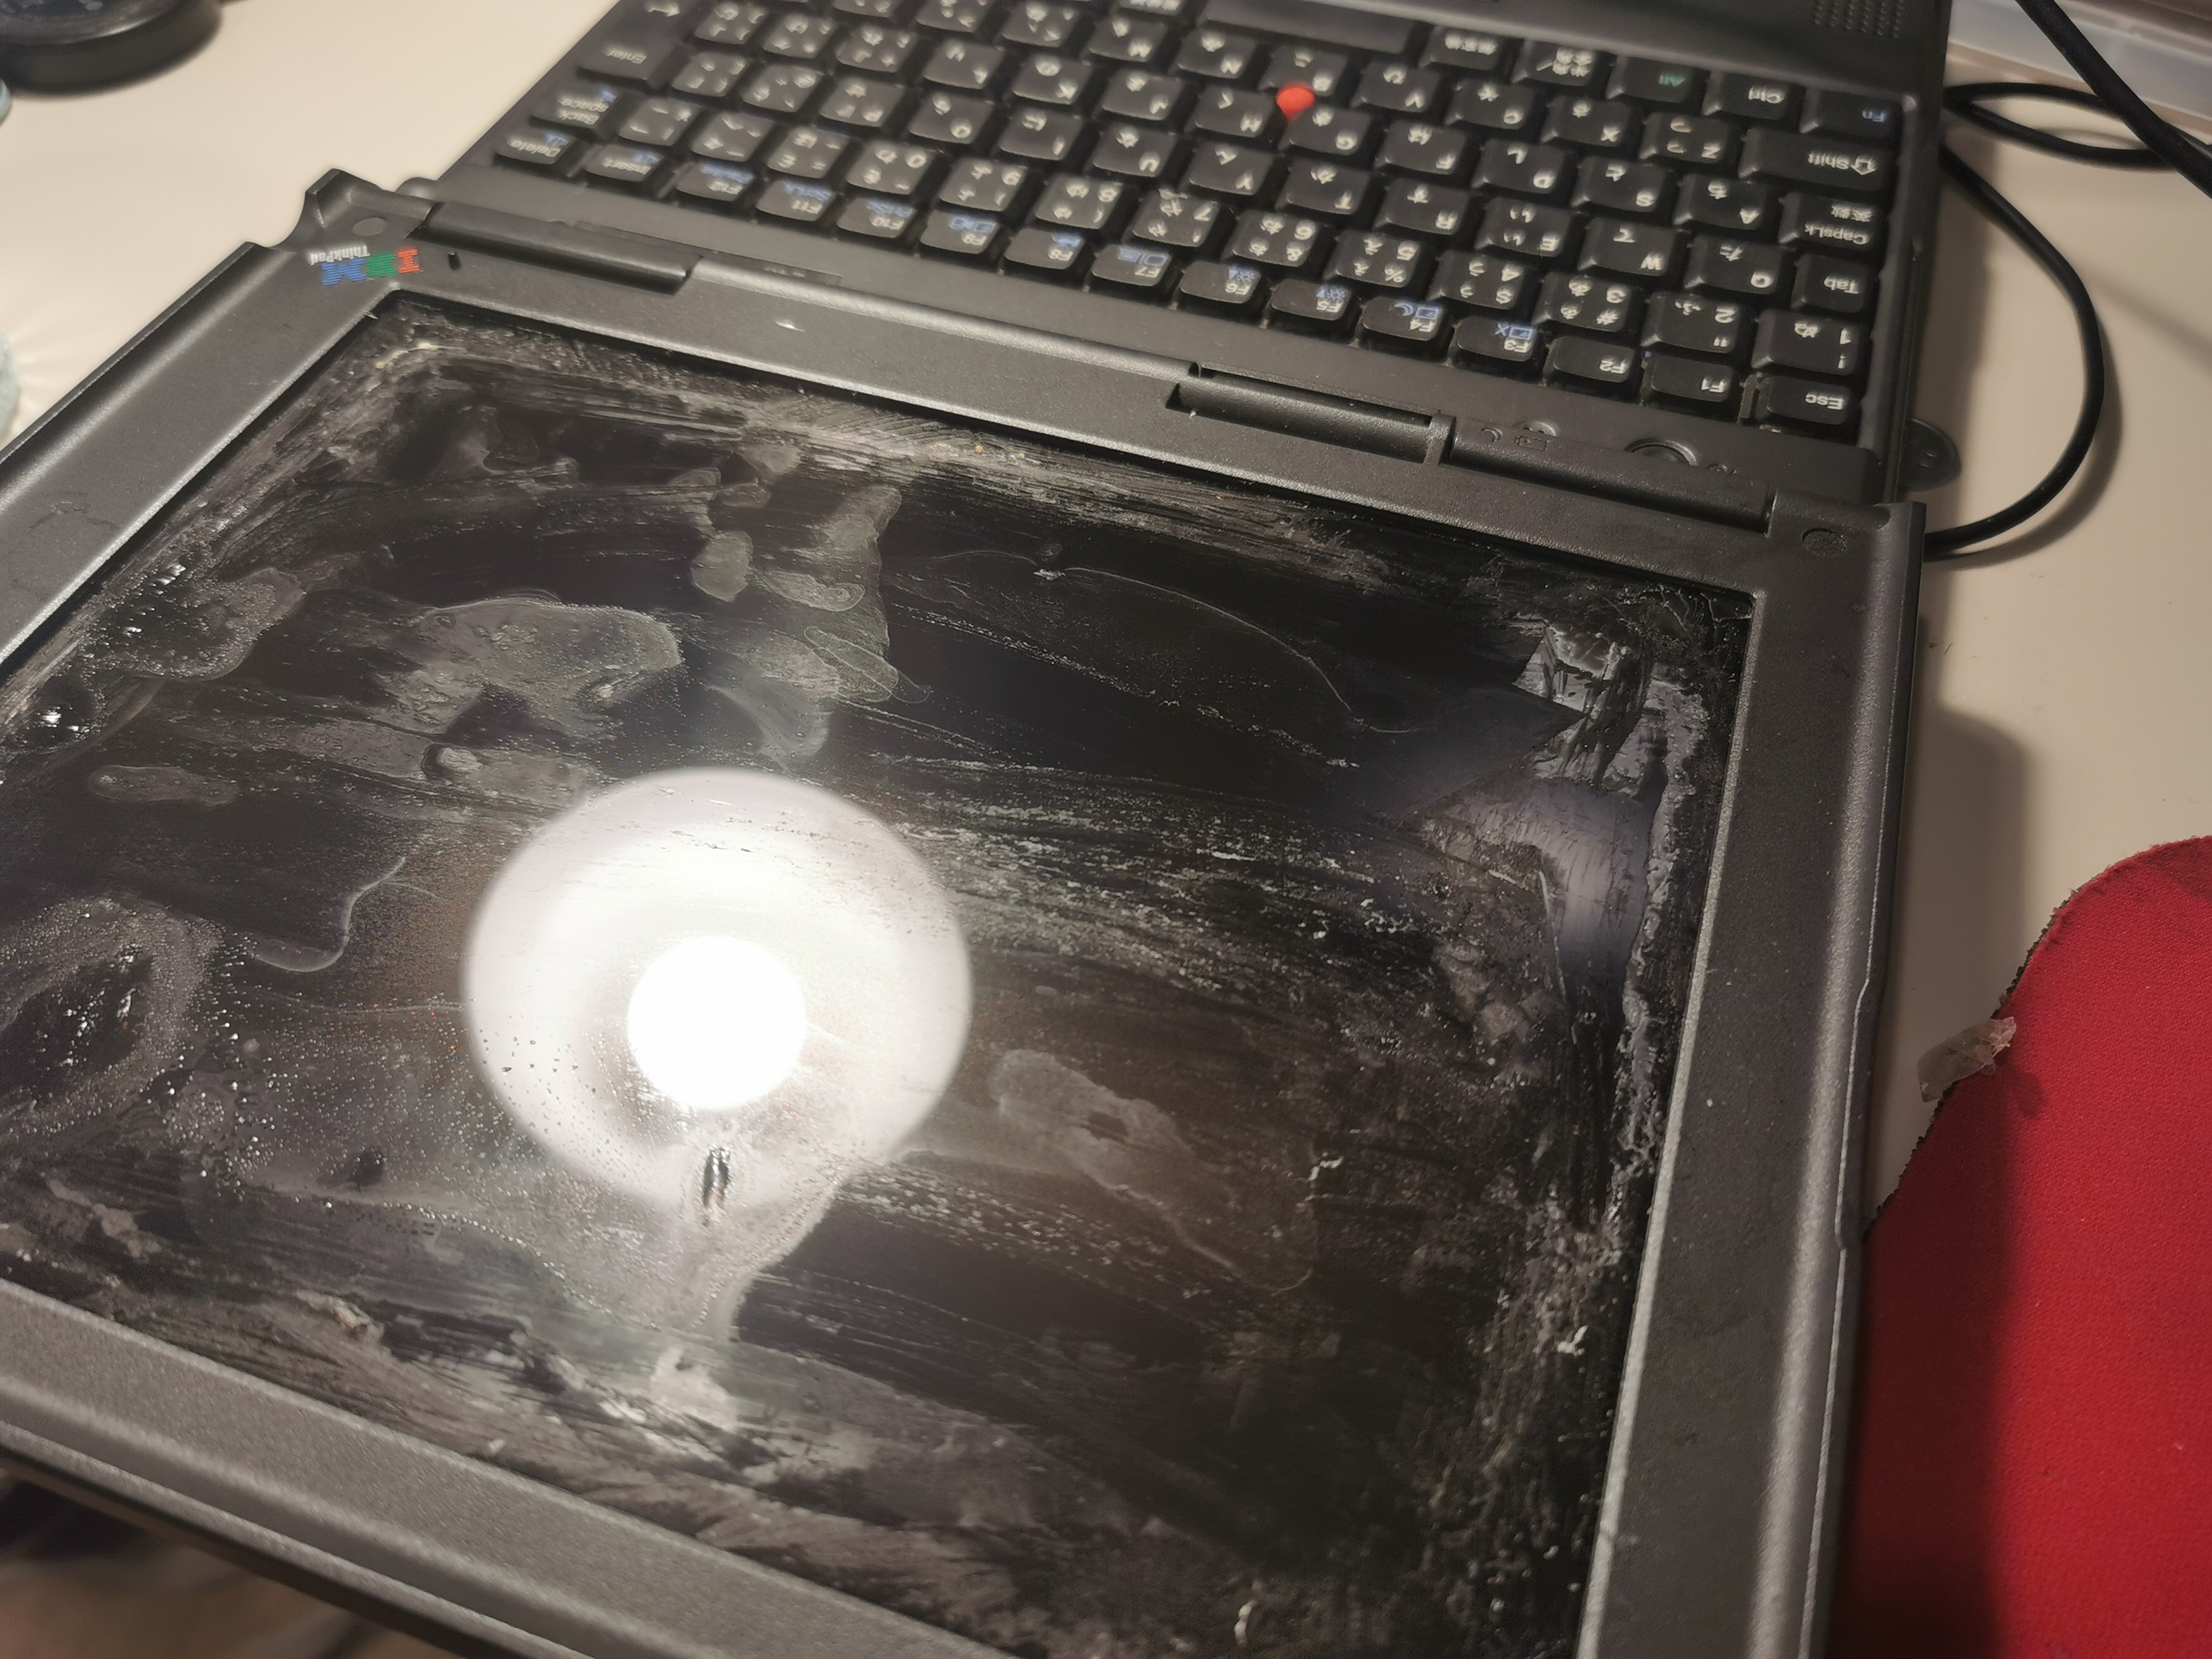
Use Isopropanol and the razor blade to ensure the surface is perfectly clean. You don’t want any residue trapped behind the new polarizer sheet.

Applying the new polarizer film with a satisfying result is quite challenging. You want to avoid any trapped dust or air bubbles. To avoid dust as much as possible, I applied the new film in the shower (without wearing any clothes…) after carefully washing all dust away.
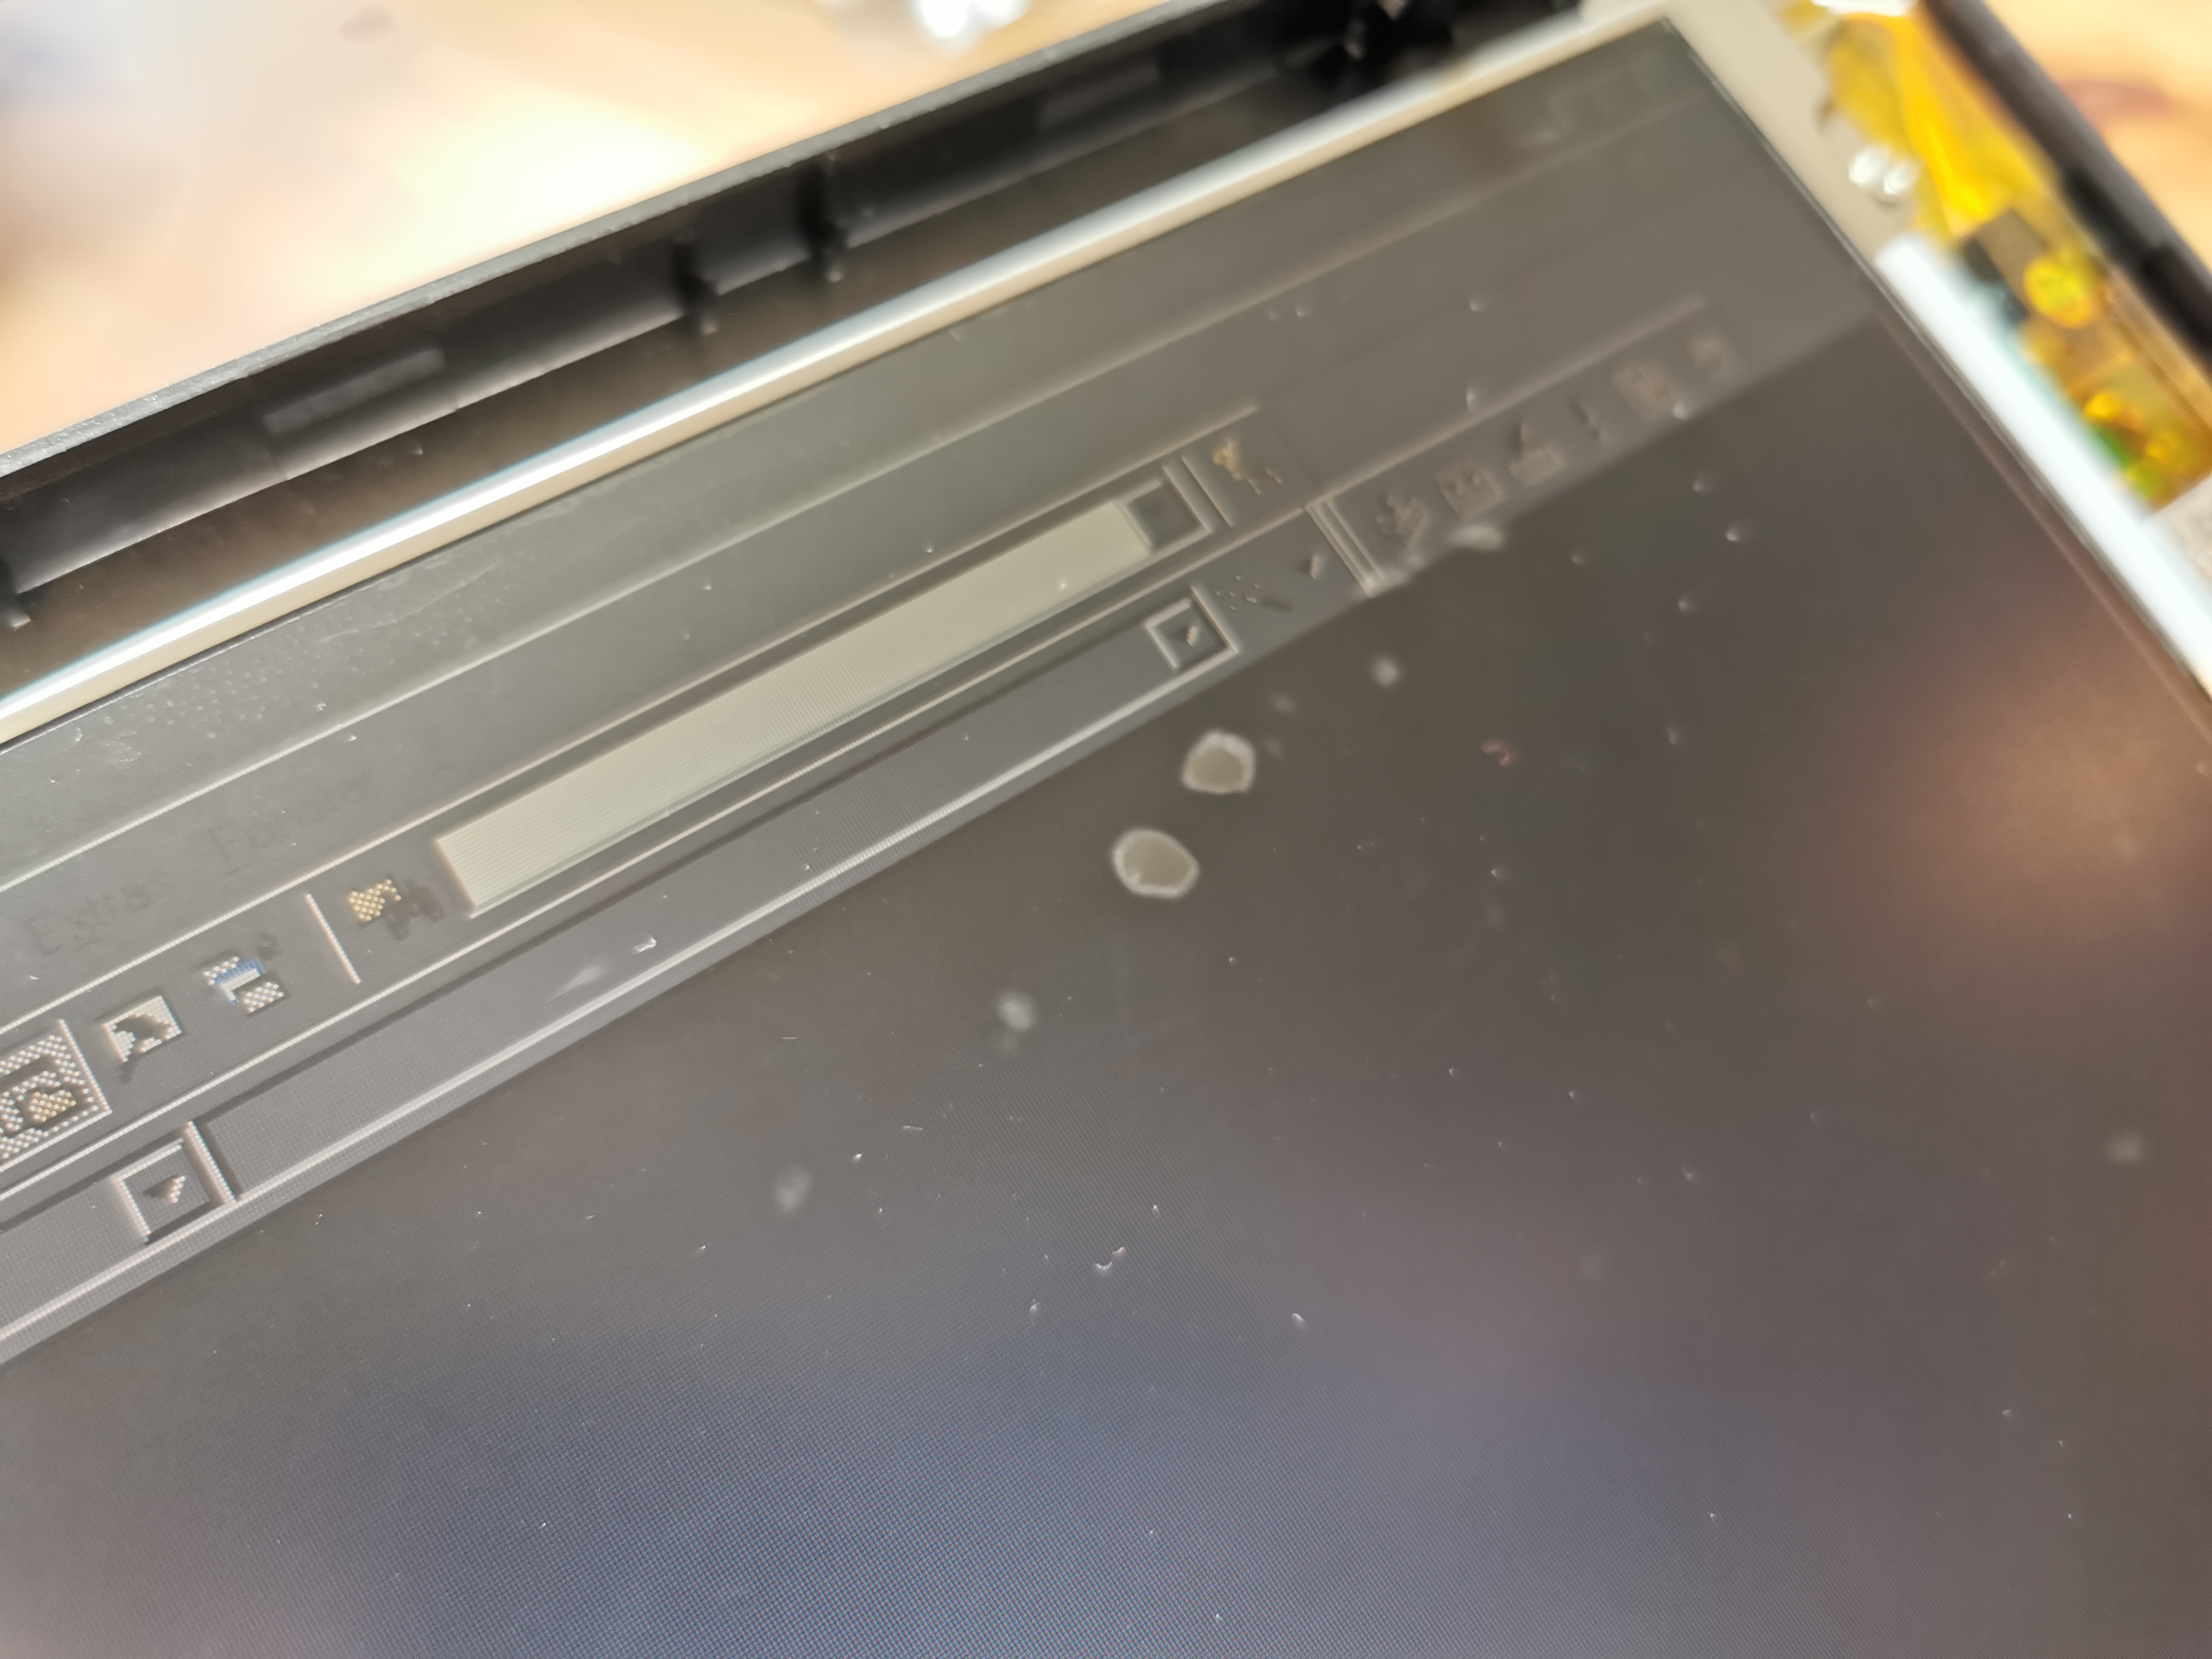
Nevertheless, my result was not perfect. First, I had some air bubbles trapped. Luckily, they disappeared after a few months due to diffusion, so it is not a major problem to worry about it. They are difficult to avoid, so if this happens to you, just wait. As long as there is no dirt trapped in between, they will disappear eventually.
The second problem was caused by my way of cutting the polarizer. Because the polarizer sheet were not a perfect fit for the 12.1″ 4:3 LCD, I had to trim it. Although I used the sharpest cutter knife I could find, the area where the blade cuts slightly distorts the plastic. As such, after cutting, it will not stick flatly to the LCD glass.

Use pre-cut films to avoid this issue, or try cutting the polarizer from the back side.

The ThinkPad looks great now. I know, I broke the LCD bezel twice. These parts get really fragile with age. Perhaps use a hair dryer to warm the plastic up a bit before disassembly?
Nevertheless, overall, I am still very satisfied with the result. The 240 looks great, and is a fun little retro machine. Tomorrow, I will take it to Starbucks, and use it to work on some retro projects!