The headlights on my Levin were in terrible condition. The adjustment screws didn’t work, the lights were not aligned, and the light yield was terrible. I decided to rebuild them.
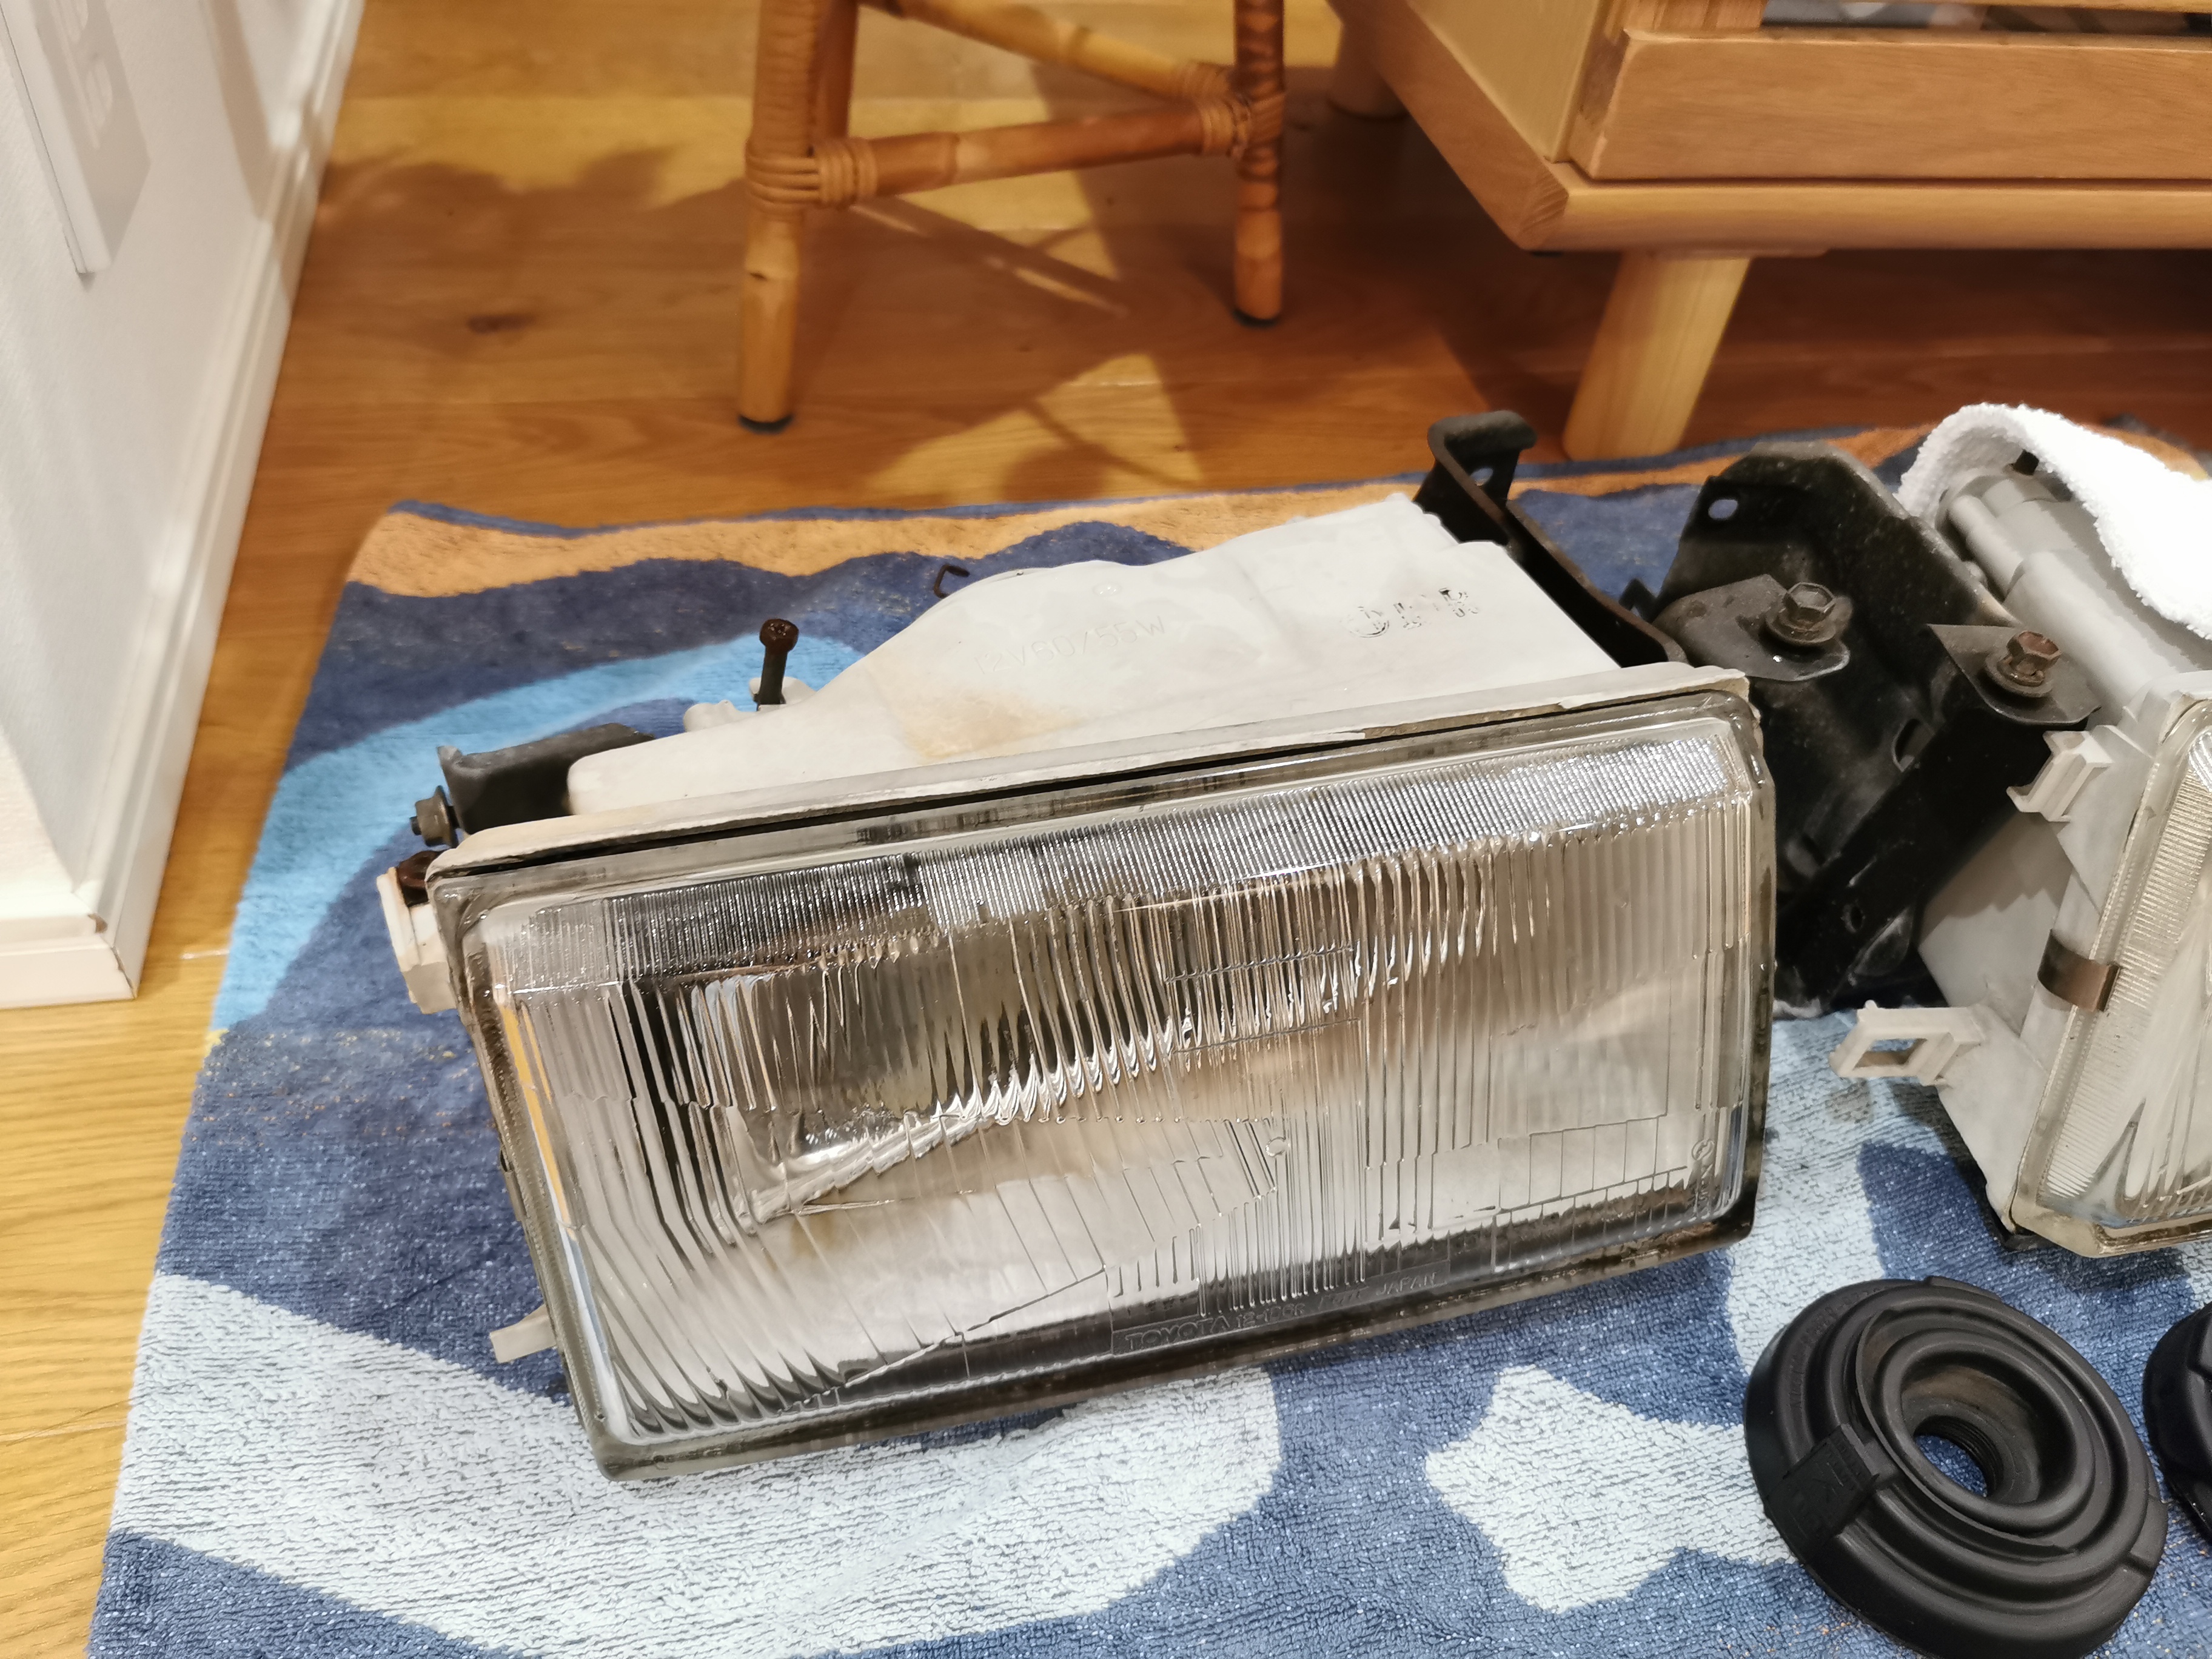
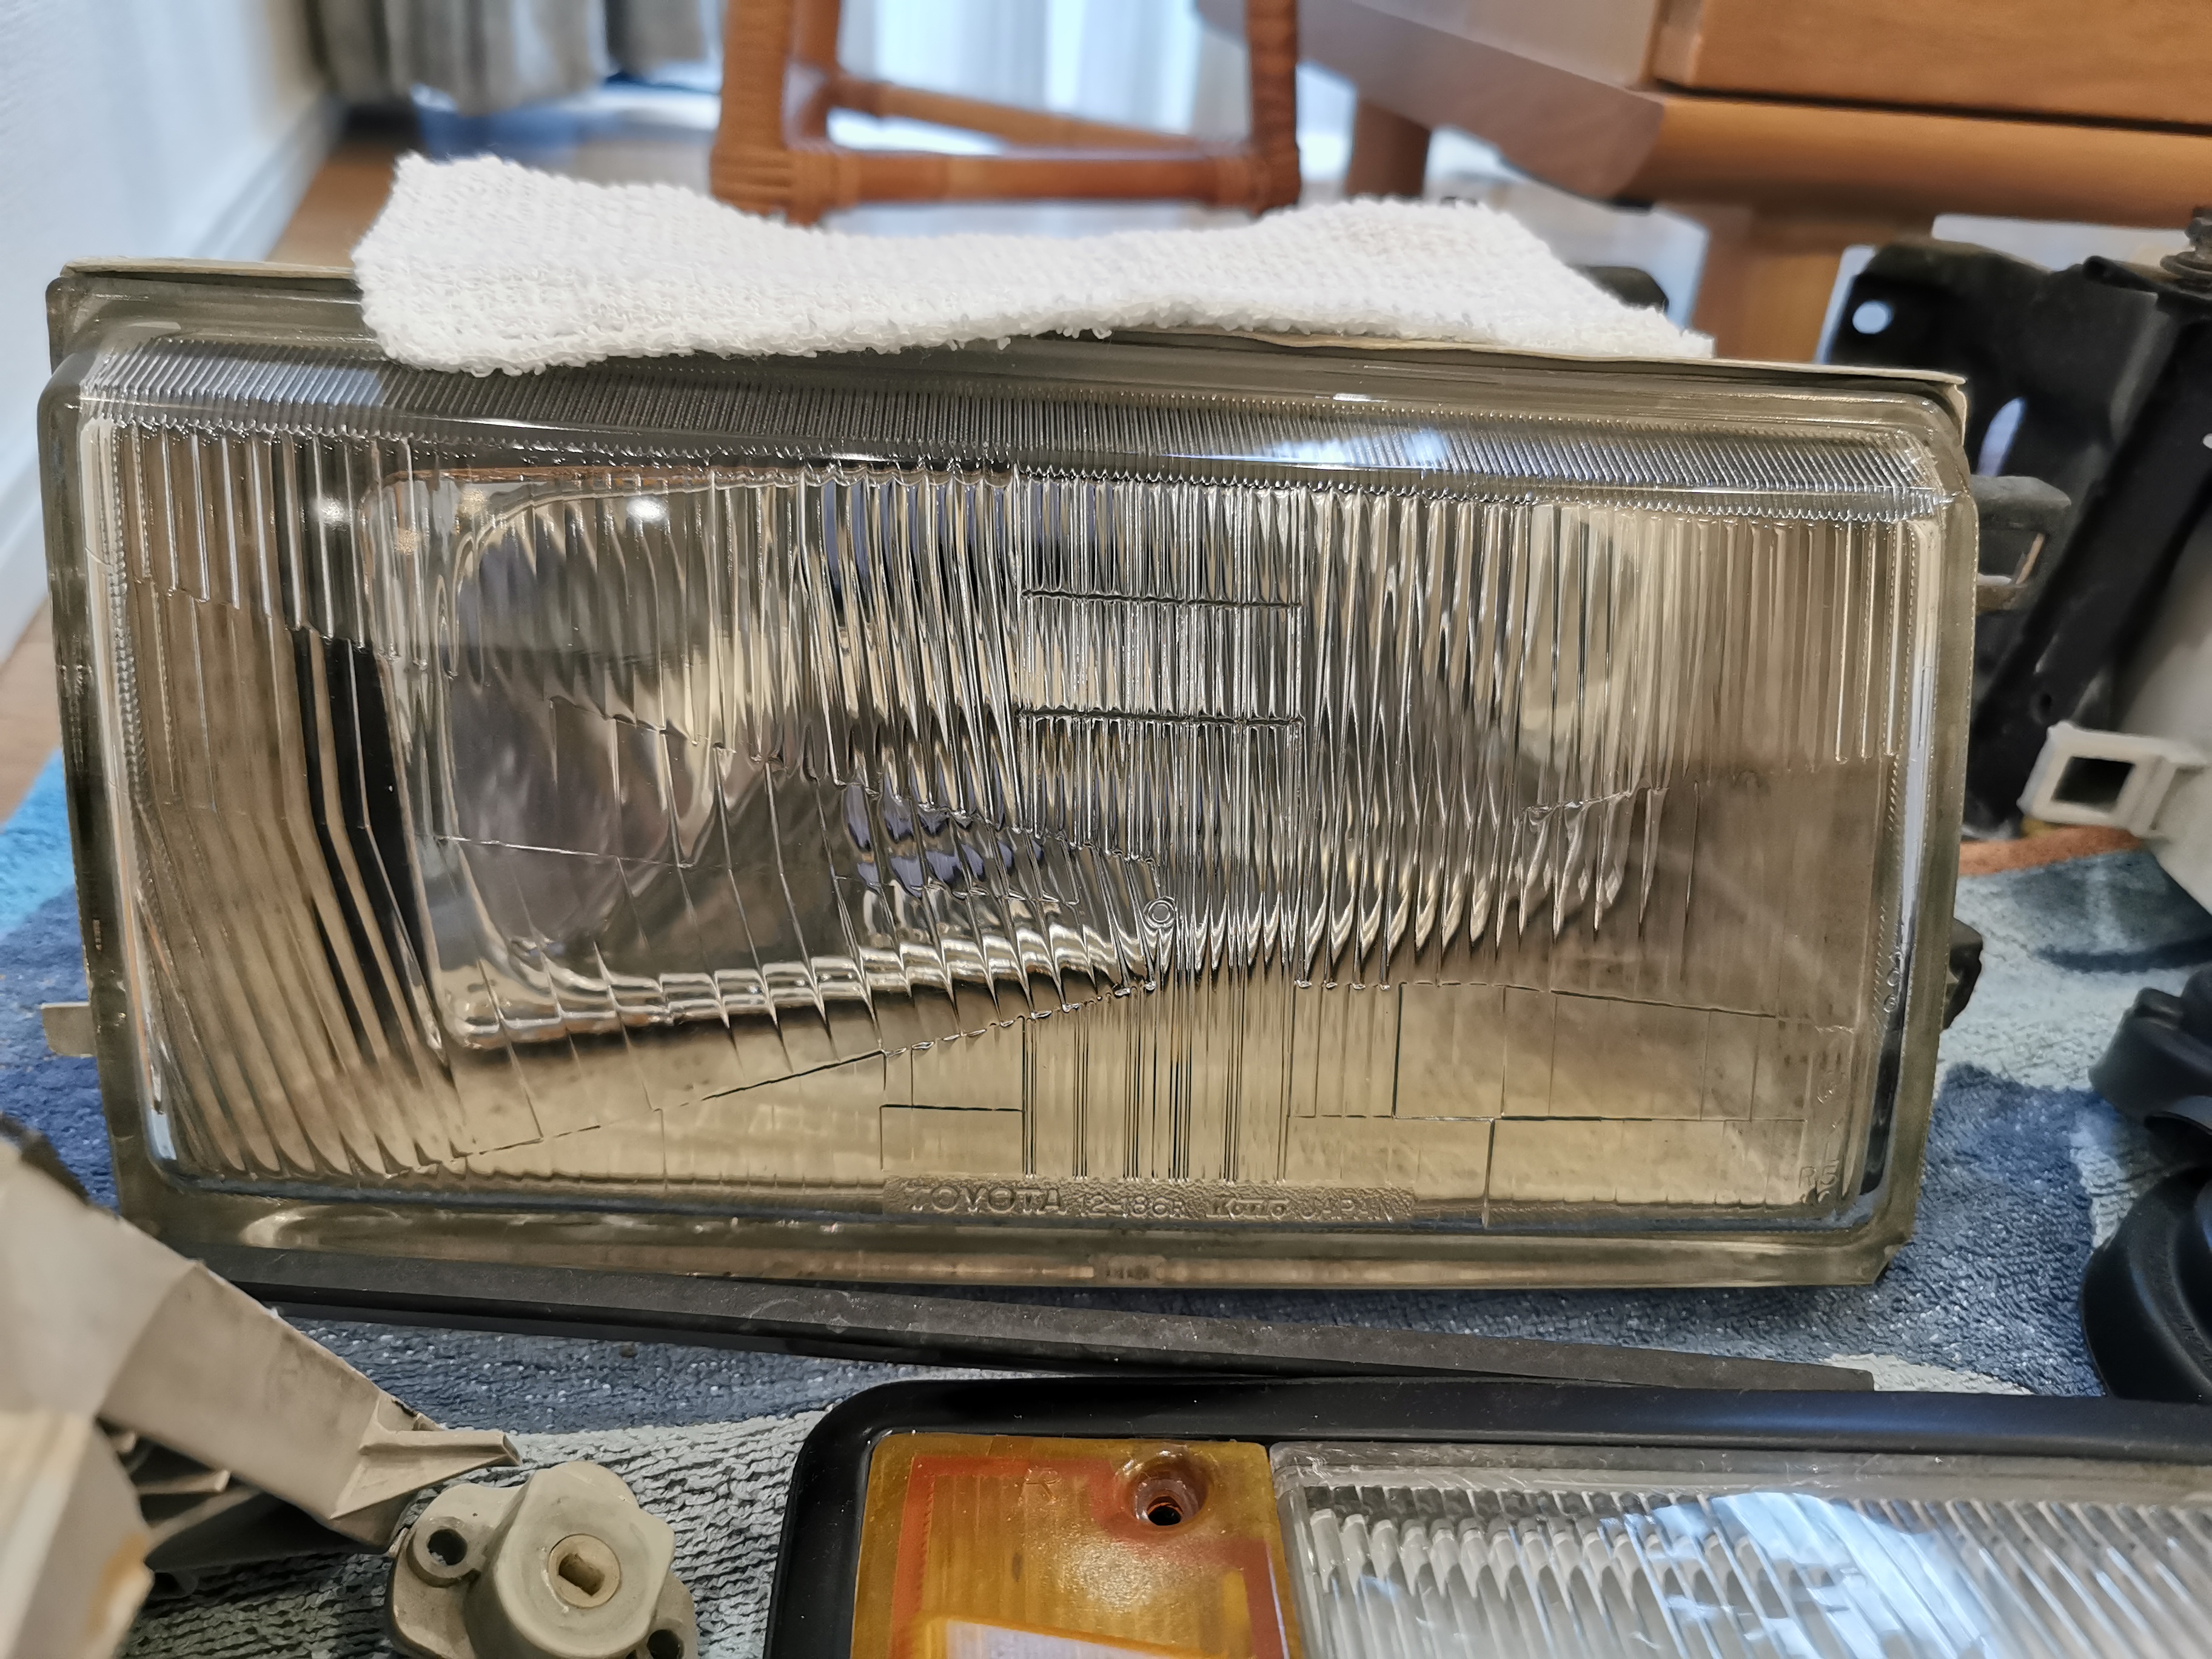
The headlight removed from the car, and superficially cleaned.
My Levin is an early spec model, which is important. During the facelift of the AE86, the headlights were changed. The late-spec model headlights are still available new, so there shouldn’t be any problem with replacing them. For me though, I wanted to keep the car original, and reinstall the original rotating grille.
The headlights can’t be swapped to the late-spec model ones without also replacing the grill and side marker lights, so be careful.
For the old spec model, at least in Japan, good condition headlights are a bit difficult to find. Hence I decided to rebuild it. In particular, my headlight suffered from two main issues:
- A plastic mounting clip inside the headlight was broken, causing the relector to wobble. Also, the headlights cannot be adjusted properly anymore.
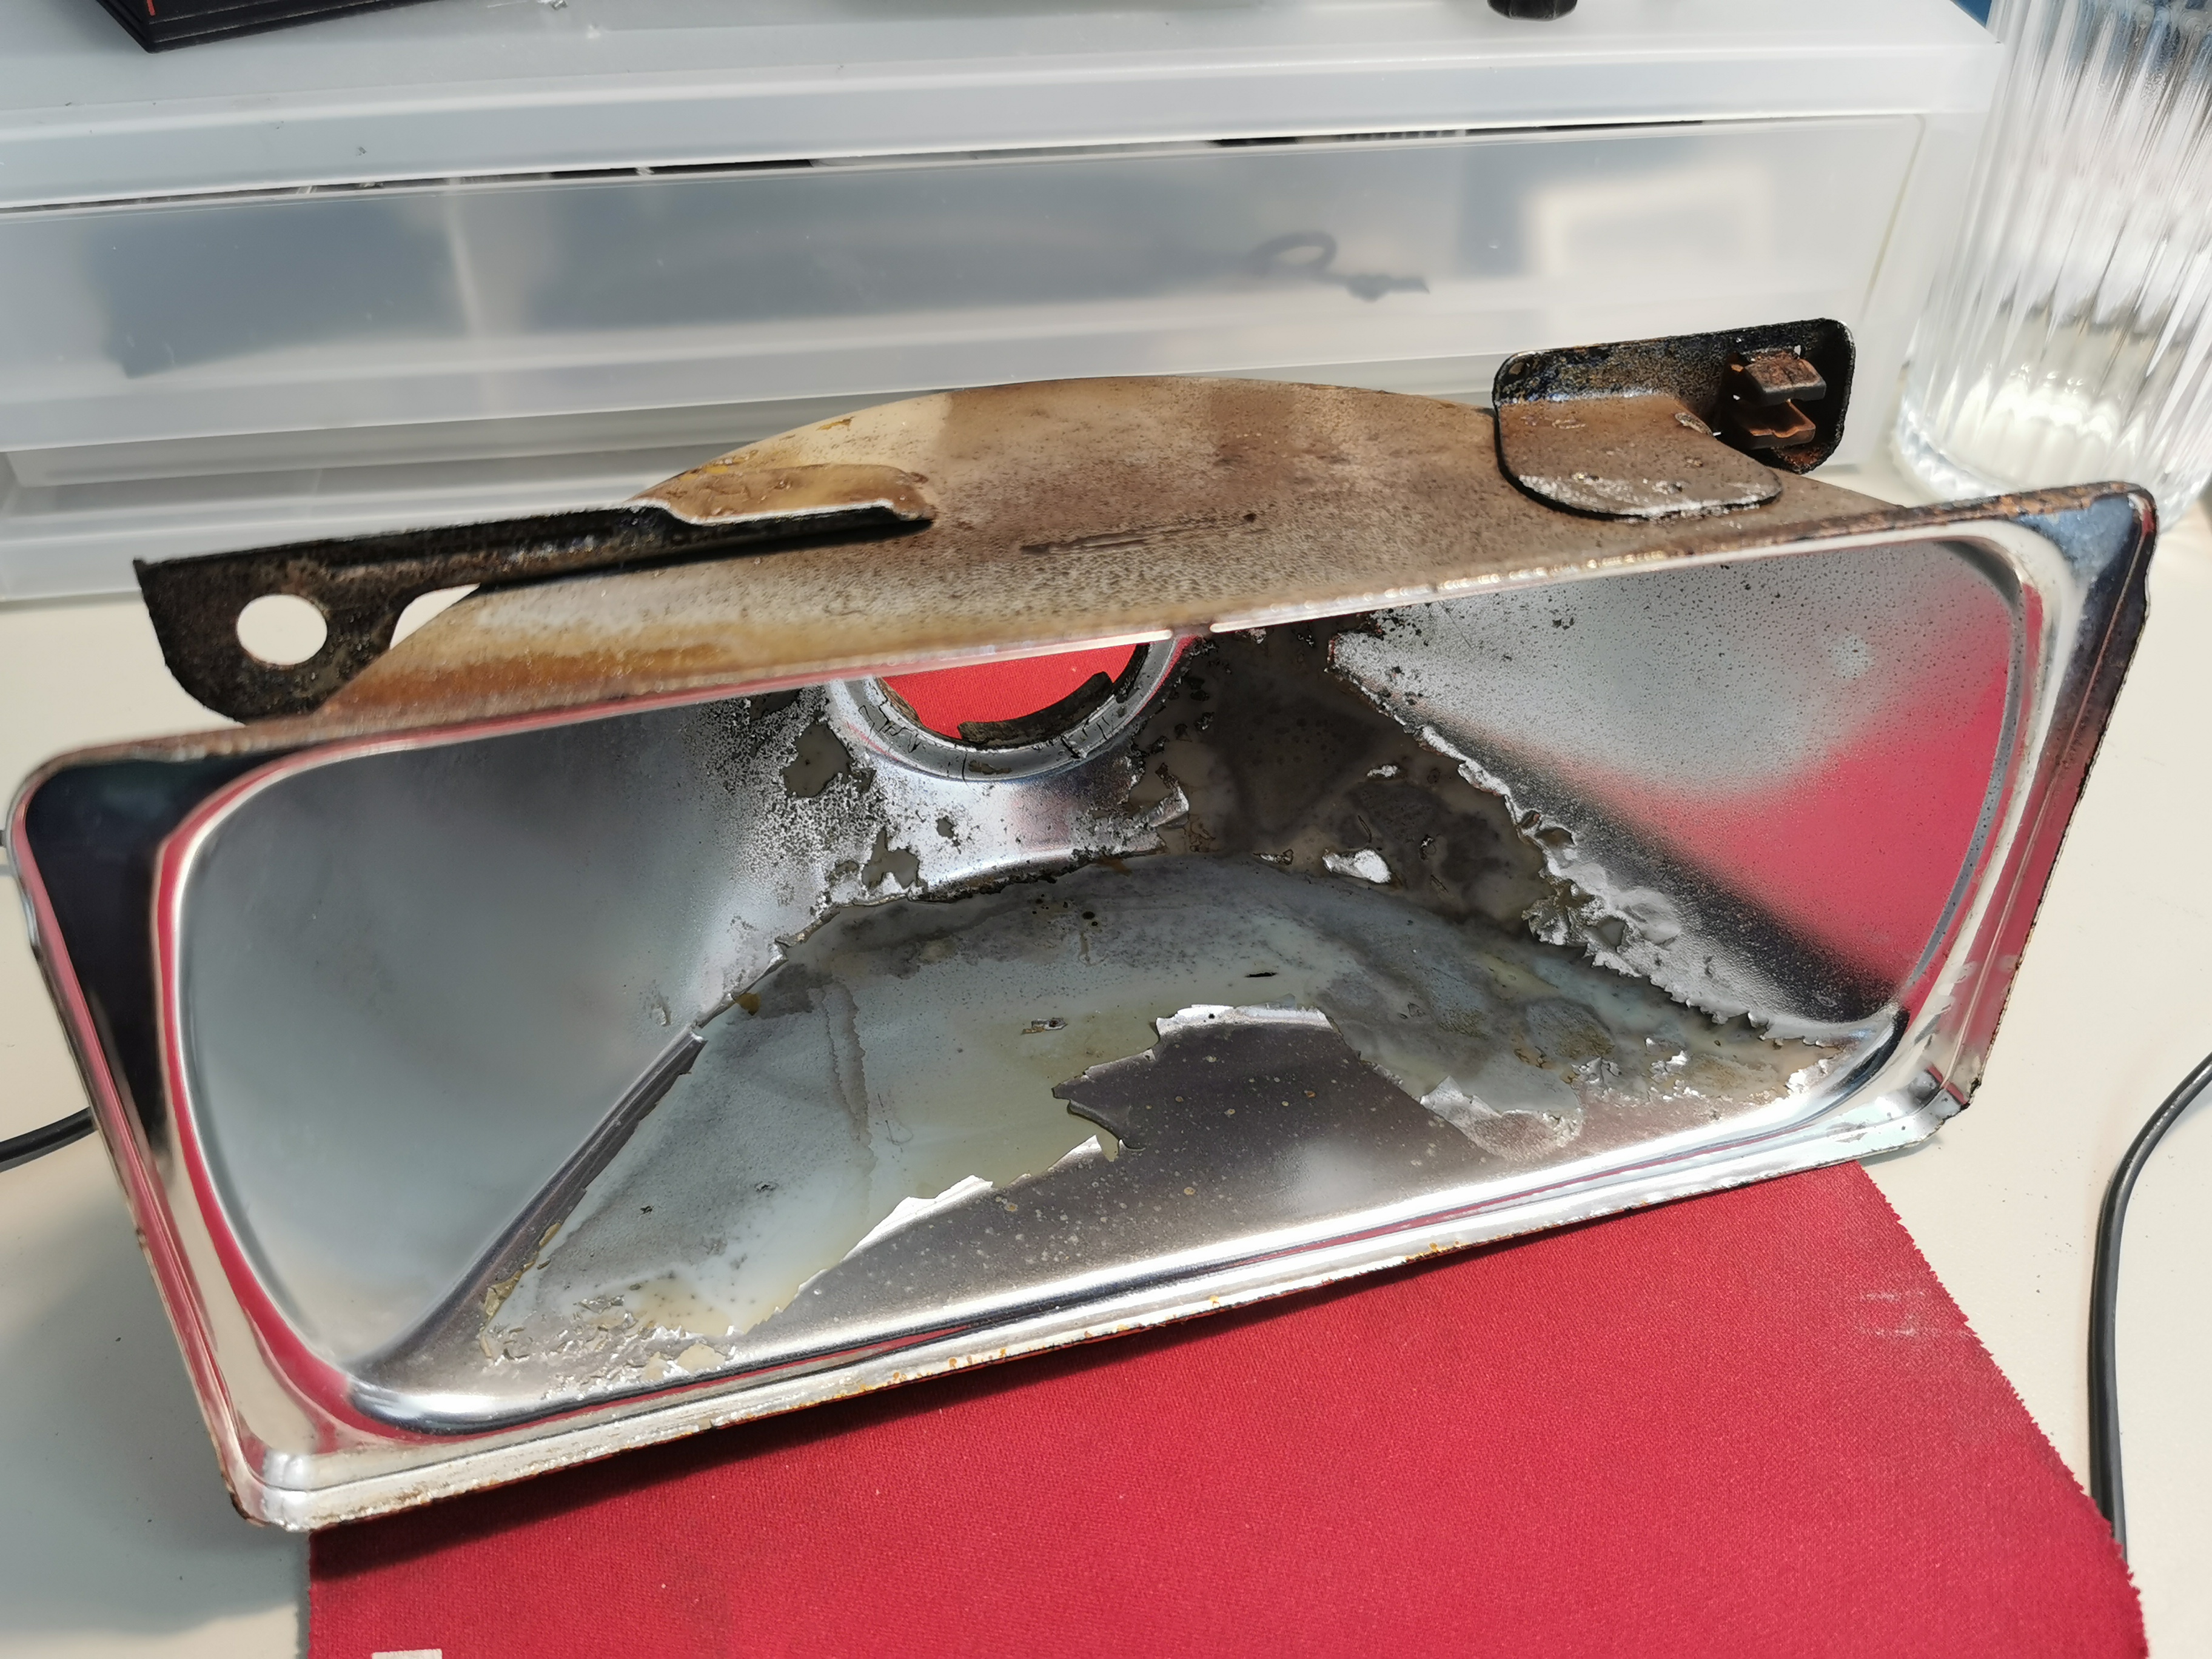
- The reflector itself was damaged, and the aluminium reflective coating was peeling off.
To fix this, the headlight needs to be opened. Preheat your oven to 110 degrees, and bake the headlight for ~10 minutes to soften the glue that holds the front glass in place. You should be able to remove the diffuser.
Recoating a reflector is not something you can DIY. Here in Japan, I found Mega Tokai, where I will sent my reflectors for re-coating. In Germany, I know about the Reflektorklinik. Recoating is not cheap, but the results look pretty amazing.
For the plastic clip, after opening the headlight I found the broken clip on the backside of the reflector.
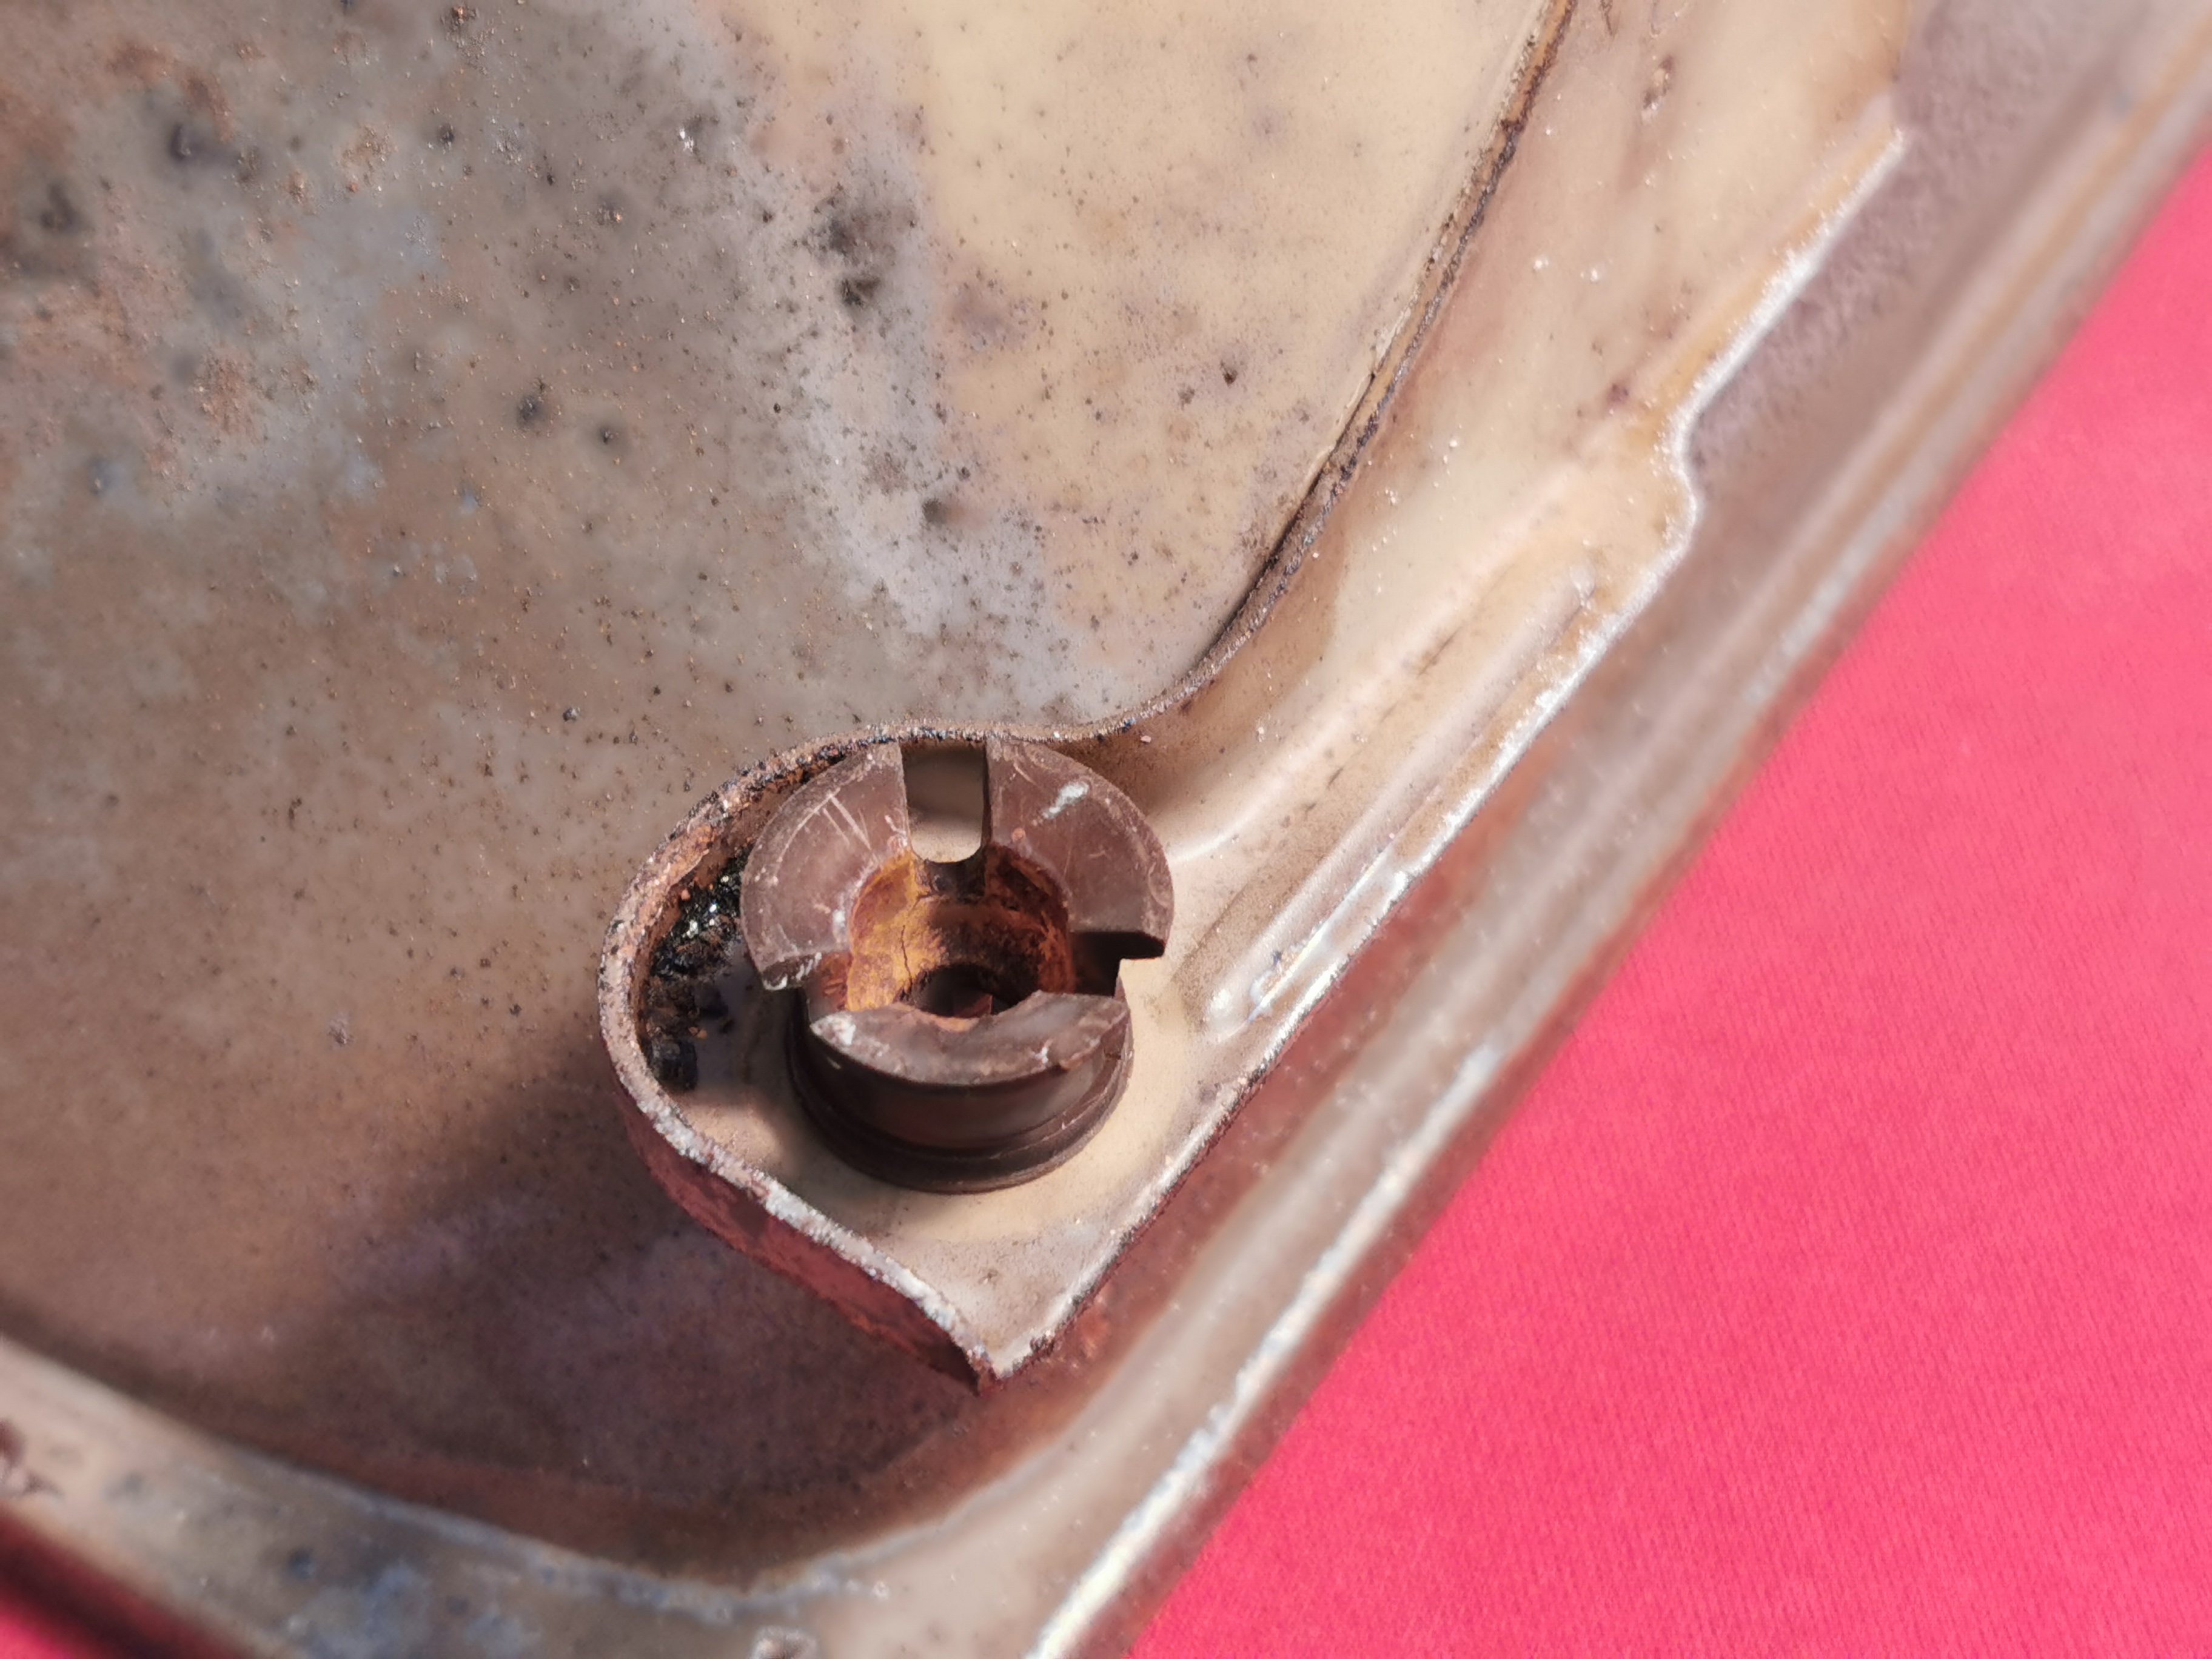
This plastic clip connects the reflector to a ball joint, which is connected to the headlight body. The pastic has become very brittle.
The noses that held this clip into the reflector had broken off.
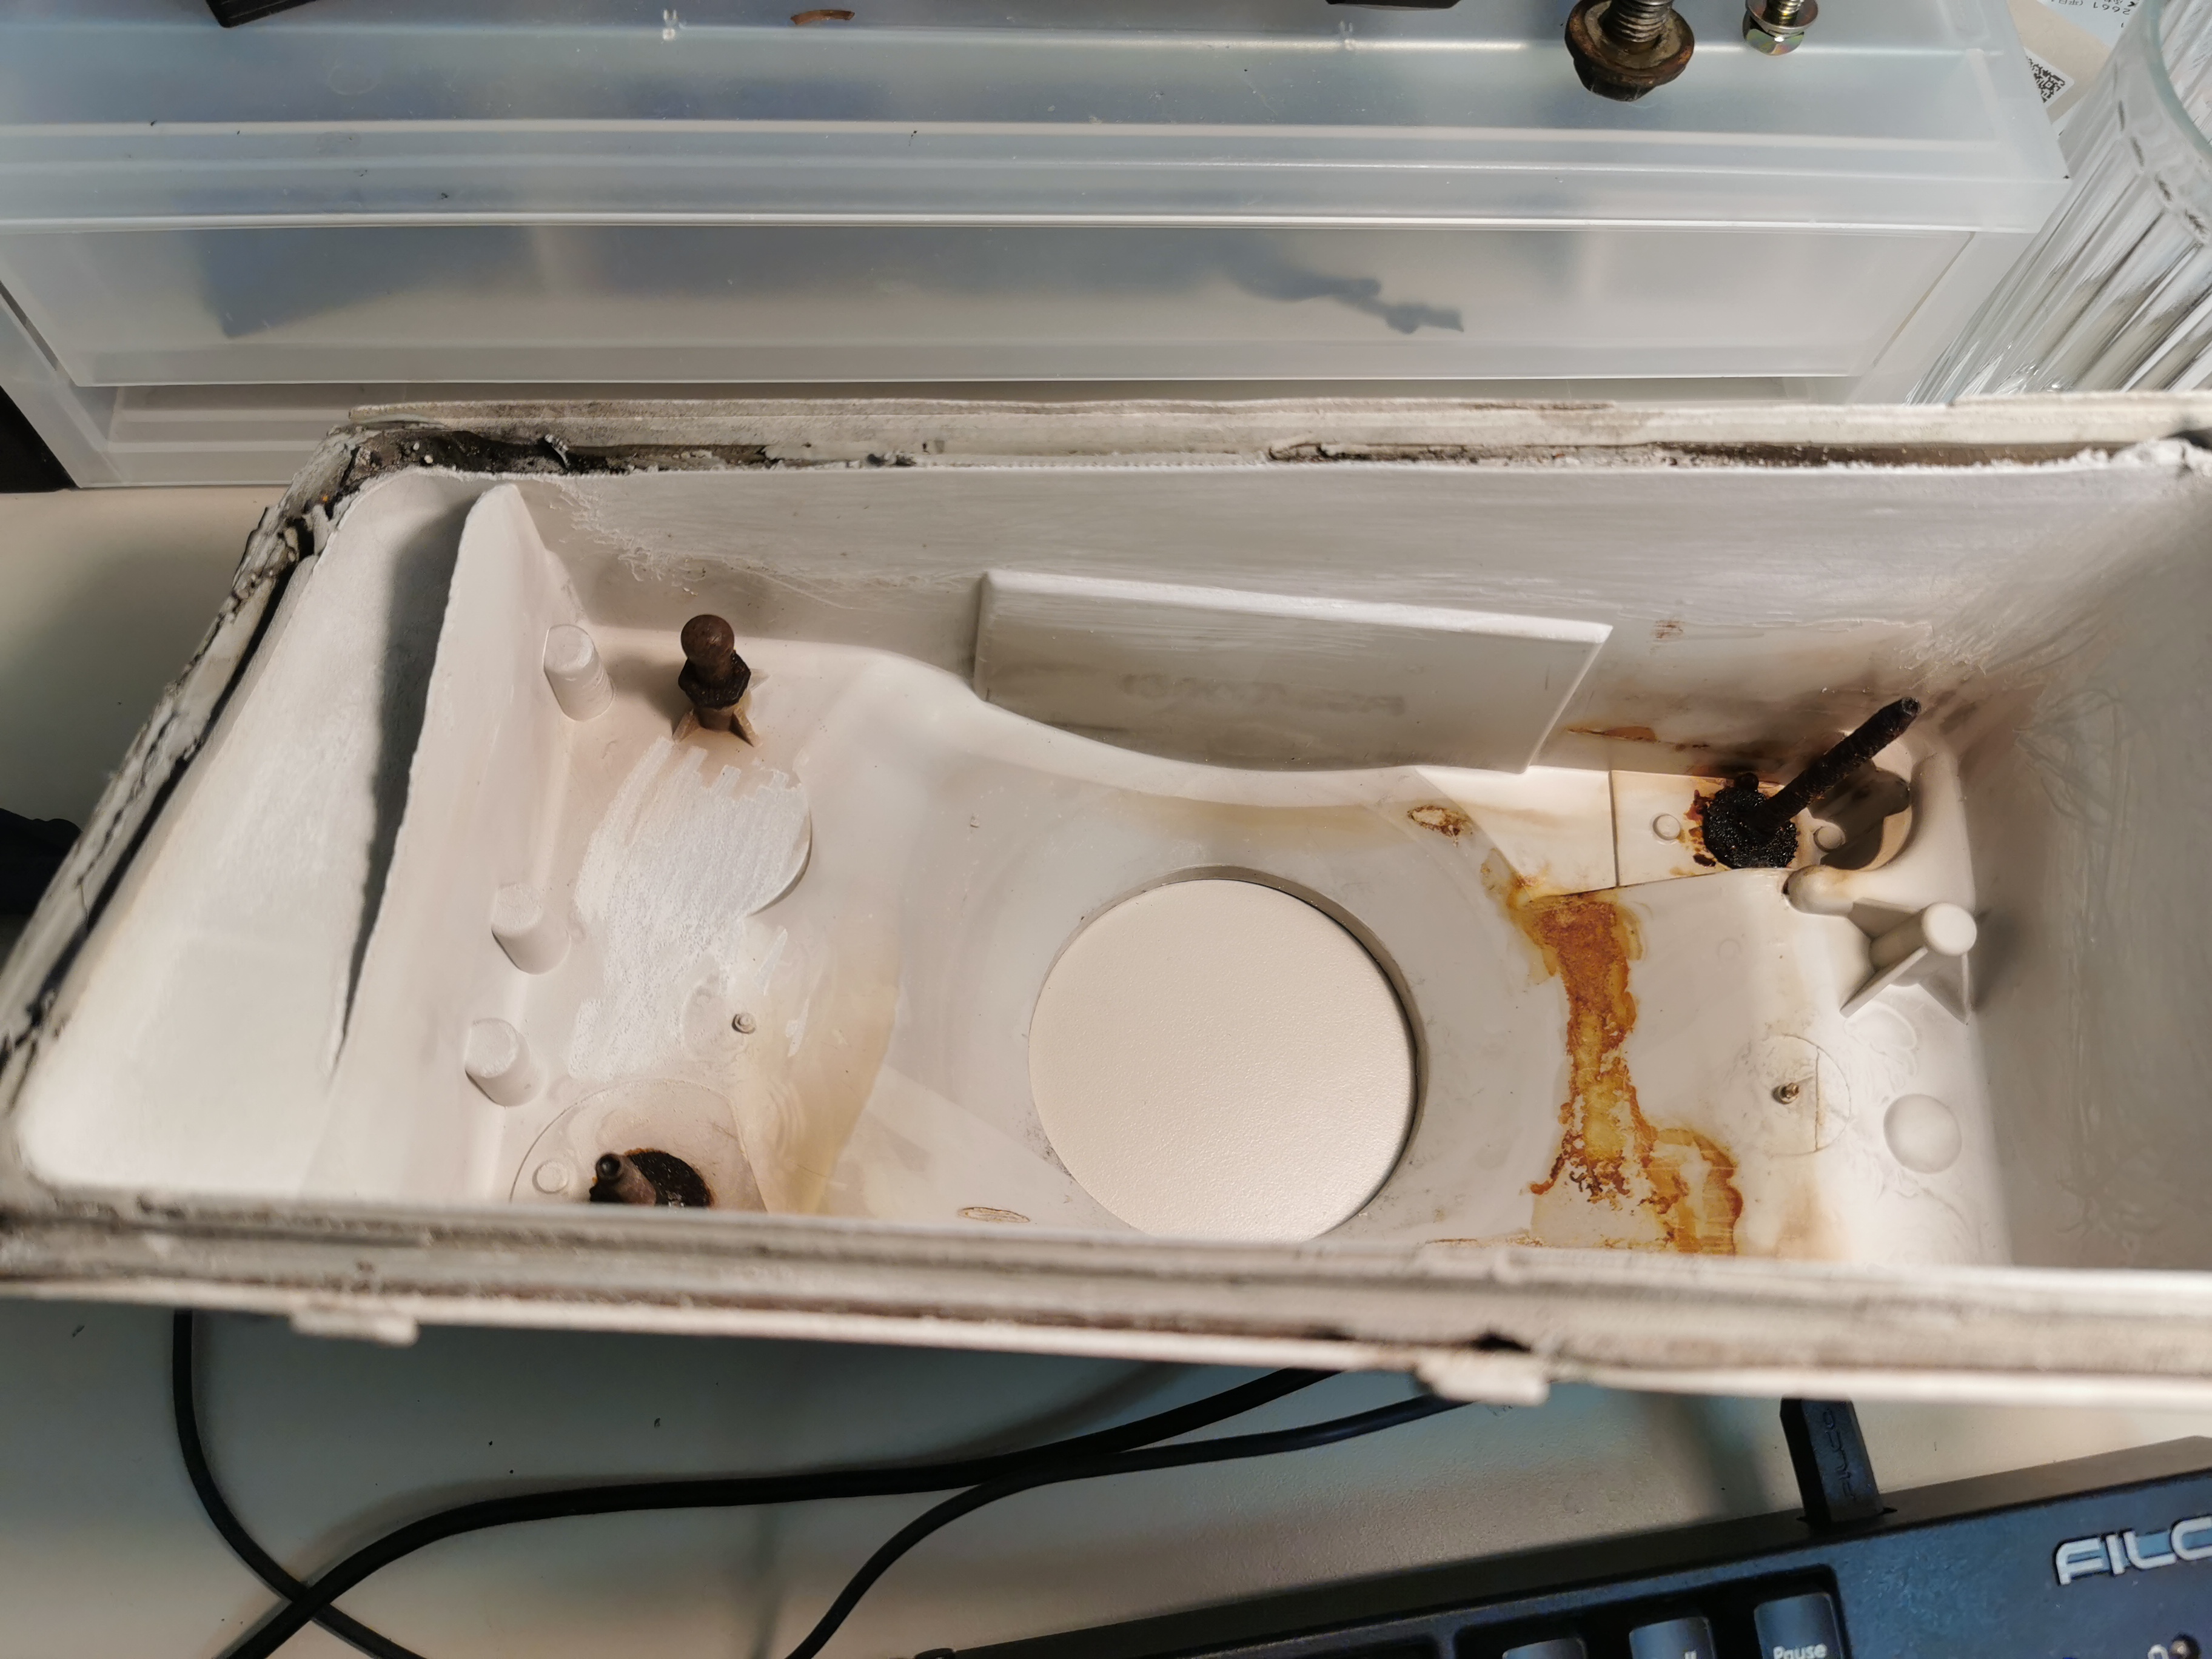
This is the headlight case with the (rusty) balljoint in the upper left corner. Note how the plastic has aged and falls off in small crumbs. I scraped off the worn plastic, and will sand the area.
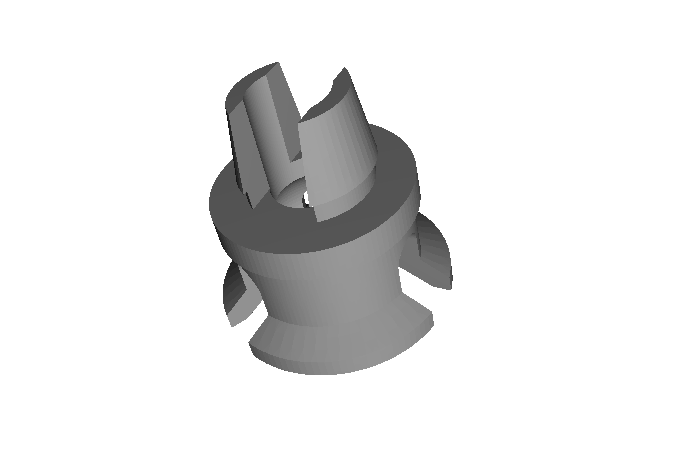
To fix the headlight, I made a quick CAD model of it, and sent it to a 3D printing service. I decided to go with black ABS plastic, which should be flexible and able to withstand the heat inside the headlight.
Once I have verified that the 3D printed part works and the headlight is assembled again, I will upload the CAD file for you as well.
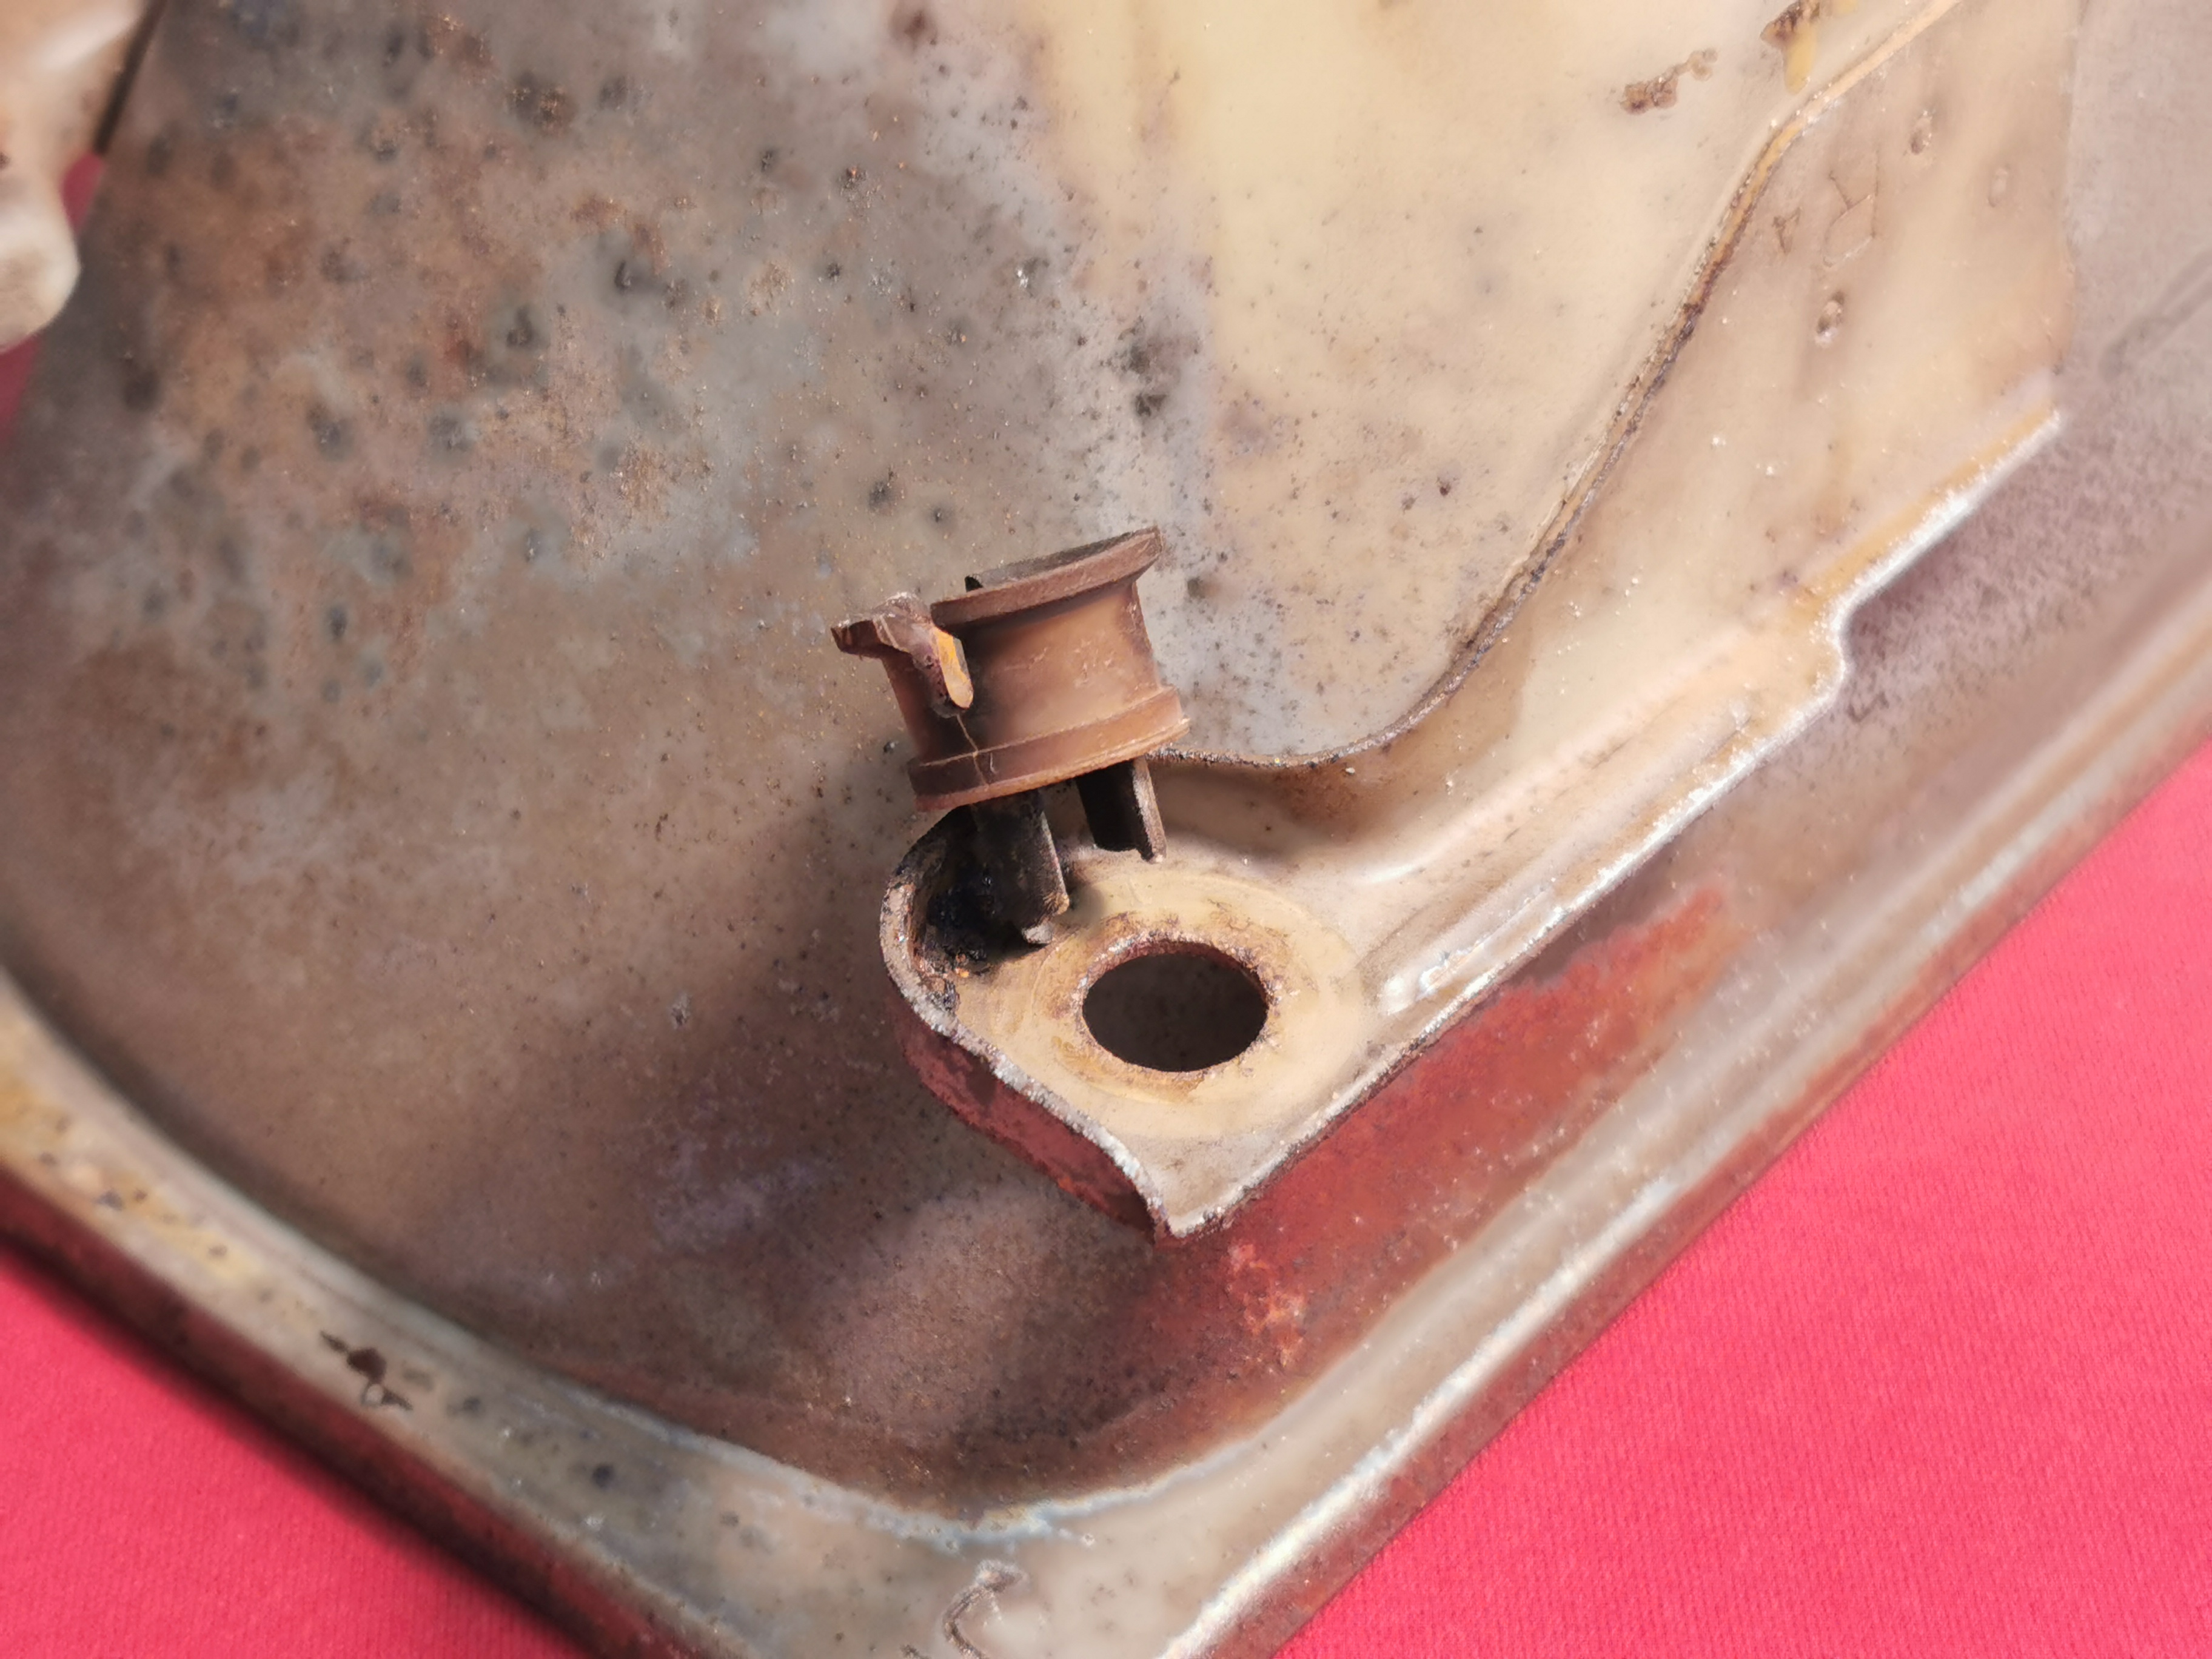
There are two more plastic grommets on the reflector for the adjustment screw gears. As long as they don’t need to be removed, they shouldn’t pose a problem. For my headlights, I will replace them with universal type grommets from AliExpress.
I will keep you updated on the progress.